Tracking Weply Chat Widget Events with Google Tag Manager
This guide will show you how to track chat widget interactions (like when visitors open the chat, start a conversation, or minimize the widget) using Google Tag Manager and send that data to Google Analytics 4.
Important: This method tracks visitor engagement with your chat widget. For tracking actual lead conversions and completed chats, you'll need to use our GA4 integration instead.
Step 1: Add the Weply Widget API Listener to Your Website
First, you need to add a small piece of code to your website that "listens" for the Weply widget to load and prepares to capture events.
Where to Add This Code
Add this code snippet to your website. You can place it in:
- Your website's header or footer template
- A custom HTML section in your website builder
- Custom HTML Tag in Google Tag Manager
The Code to Add
<script type="text/javascript">
  console.log('Weply listener script loaded at:', new Date());

  window.weplyWidgetReady = function (api) {
    console.log('weplyWidgetReady called by widget', api);

    window.dataLayer = window.dataLayer || [];
    console.log('DataLayer initialized:', window.dataLayer);
    console.log('Setting up event listeners...');

    // Widget Open Event
    api.dataLayers.on('widgetOpen', function (data) {
      console.log('widgetOpen event fired', data);
      window.dataLayer.push({
        'event': 'weply_widgetOpen',
        'weply_sessionId': data.sessionId,
        'weply_browserTabId': data.browserTabId,
        'weply_timestamp': data.time
      });
      console.log('Pushed to dataLayer:', window.dataLayer);
    });

    // Widget Minimize Event
    api.dataLayers.on('widgetMinimize', function (data) {
      console.log('widgetMinimize event fired', data);
      window.dataLayer.push({
        'event': 'weply_widgetMinimize',
        'weply_sessionId': data.sessionId,
        'weply_browserTabId': data.browserTabId,
        'weply_timestamp': data.time
      });
    });

    // Widget Maximize Event
    api.dataLayers.on('widgetMaximize', function (data) {
      console.log('widgetMaximize event fired', data);
      window.dataLayer.push({
        'event': 'weply_widgetMaximize',
        'weply_sessionId': data.sessionId,
        'weply_browserTabId': data.browserTabId,
        'weply_timestamp': data.time
      });
    });

    // Chat Started Event
    api.dataLayers.on('chatStarted', function (data) {
      console.log('chatStarted event fired', data);
      window.dataLayer.push({
        'event': 'weply_chatStarted',
        'weply_sessionId': data.sessionId,
        'weply_browserTabId': data.browserTabId,
        'weply_timestamp': data.time
      });
    });

    // Chat Closed Event
    api.dataLayers.on('chatClosed', function (data) {
      console.log('chatClosed event fired', data);
      window.dataLayer.push({
        'event': 'weply_chatClosed',
        'weply_sessionId': data.sessionId,
        'weply_browserTabId': data.browserTabId,
        'weply_timestamp': data.time
      });
    });

    // Proactive Chat Bubble Event
    api.dataLayers.on('proactiveChatBubble', function (data) {
      console.log('proactiveChatBubble event fired', data);
      window.dataLayer.push({
        'event': 'weply_proactiveChatBubble',
        'weply_sessionId': data.sessionId,
        'weply_browserTabId': data.browserTabId,
        'weply_timestamp': data.time
      });
    });

    // Proactive Chat Bubble Closed Event
    api.dataLayers.on('proactiveChatBubbleClosed', function (data) {
      console.log('proactiveChatBubbleClosed event fired', data);
      window.dataLayer.push({
        'event': 'weply_proactiveChatBubbleClosed',
        'weply_sessionId': data.sessionId,
        'weply_browserTabId': data.browserTabId,
        'weply_timestamp': data.time
      });
    });

    console.log('All listeners attached successfully');
  };

  // Support old crowdio callback for backwards compatibility
  window.crowdioWidgetReady = function (api) {
    console.log('crowdioWidgetReady called (old callback name)');
    window.weplyWidgetReady(api);
  };

  console.log('weplyWidgetReady function defined:', typeof window.weplyWidgetReady);
</script>
What this code does
- Waits for the Weply widget to load on your page
- Listens for chat widget events (like when someone opens the chat)
- Sends those events to Google Tag Manager so you can track them
- Sends console logs for debugging - these lines can be removed if desired
- The latter part of the code is for supporting older versions of the chat widgets created prior to 2020. This part of the code can also be removed if irrelevant.
Step 2: Add the Code Using Google Tag Manager
Instead of adding the code directly to your website, you can add it through Google Tag Manager.
Instructions:
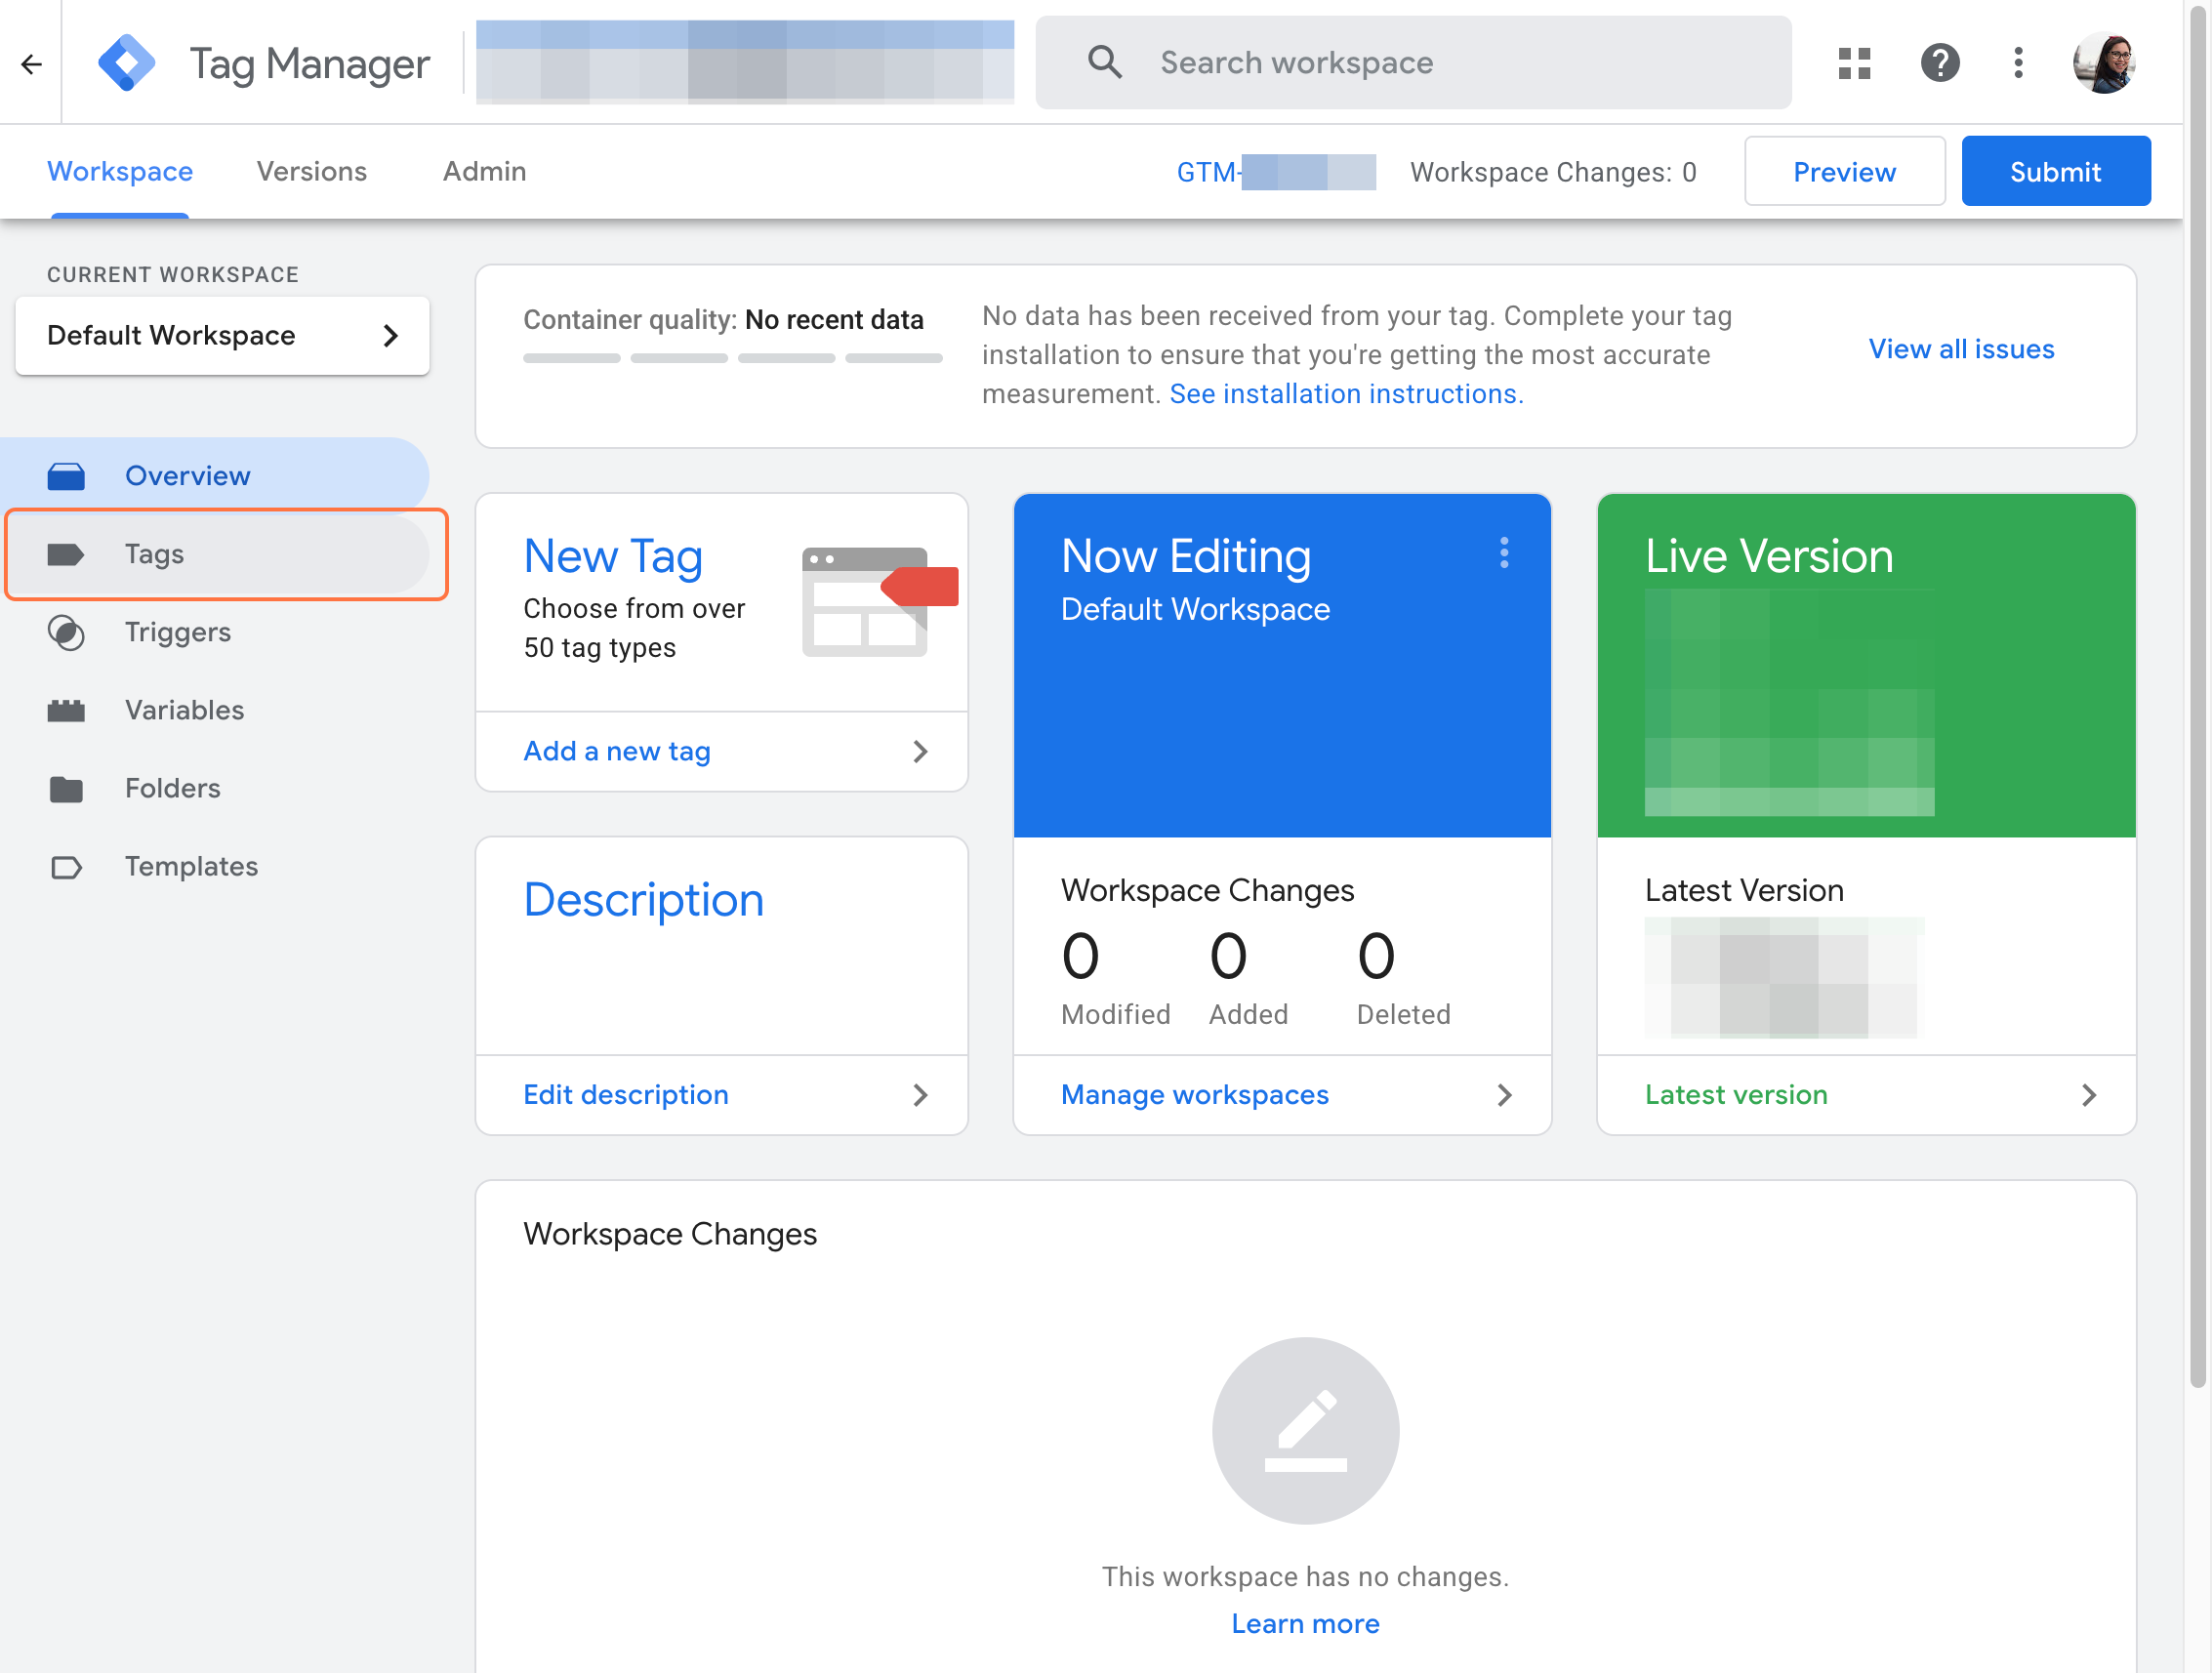
2.1. Log in to Google Tag Manager
2.2. Click Tags in the left sidebar
2.3. Click New to create a new tag

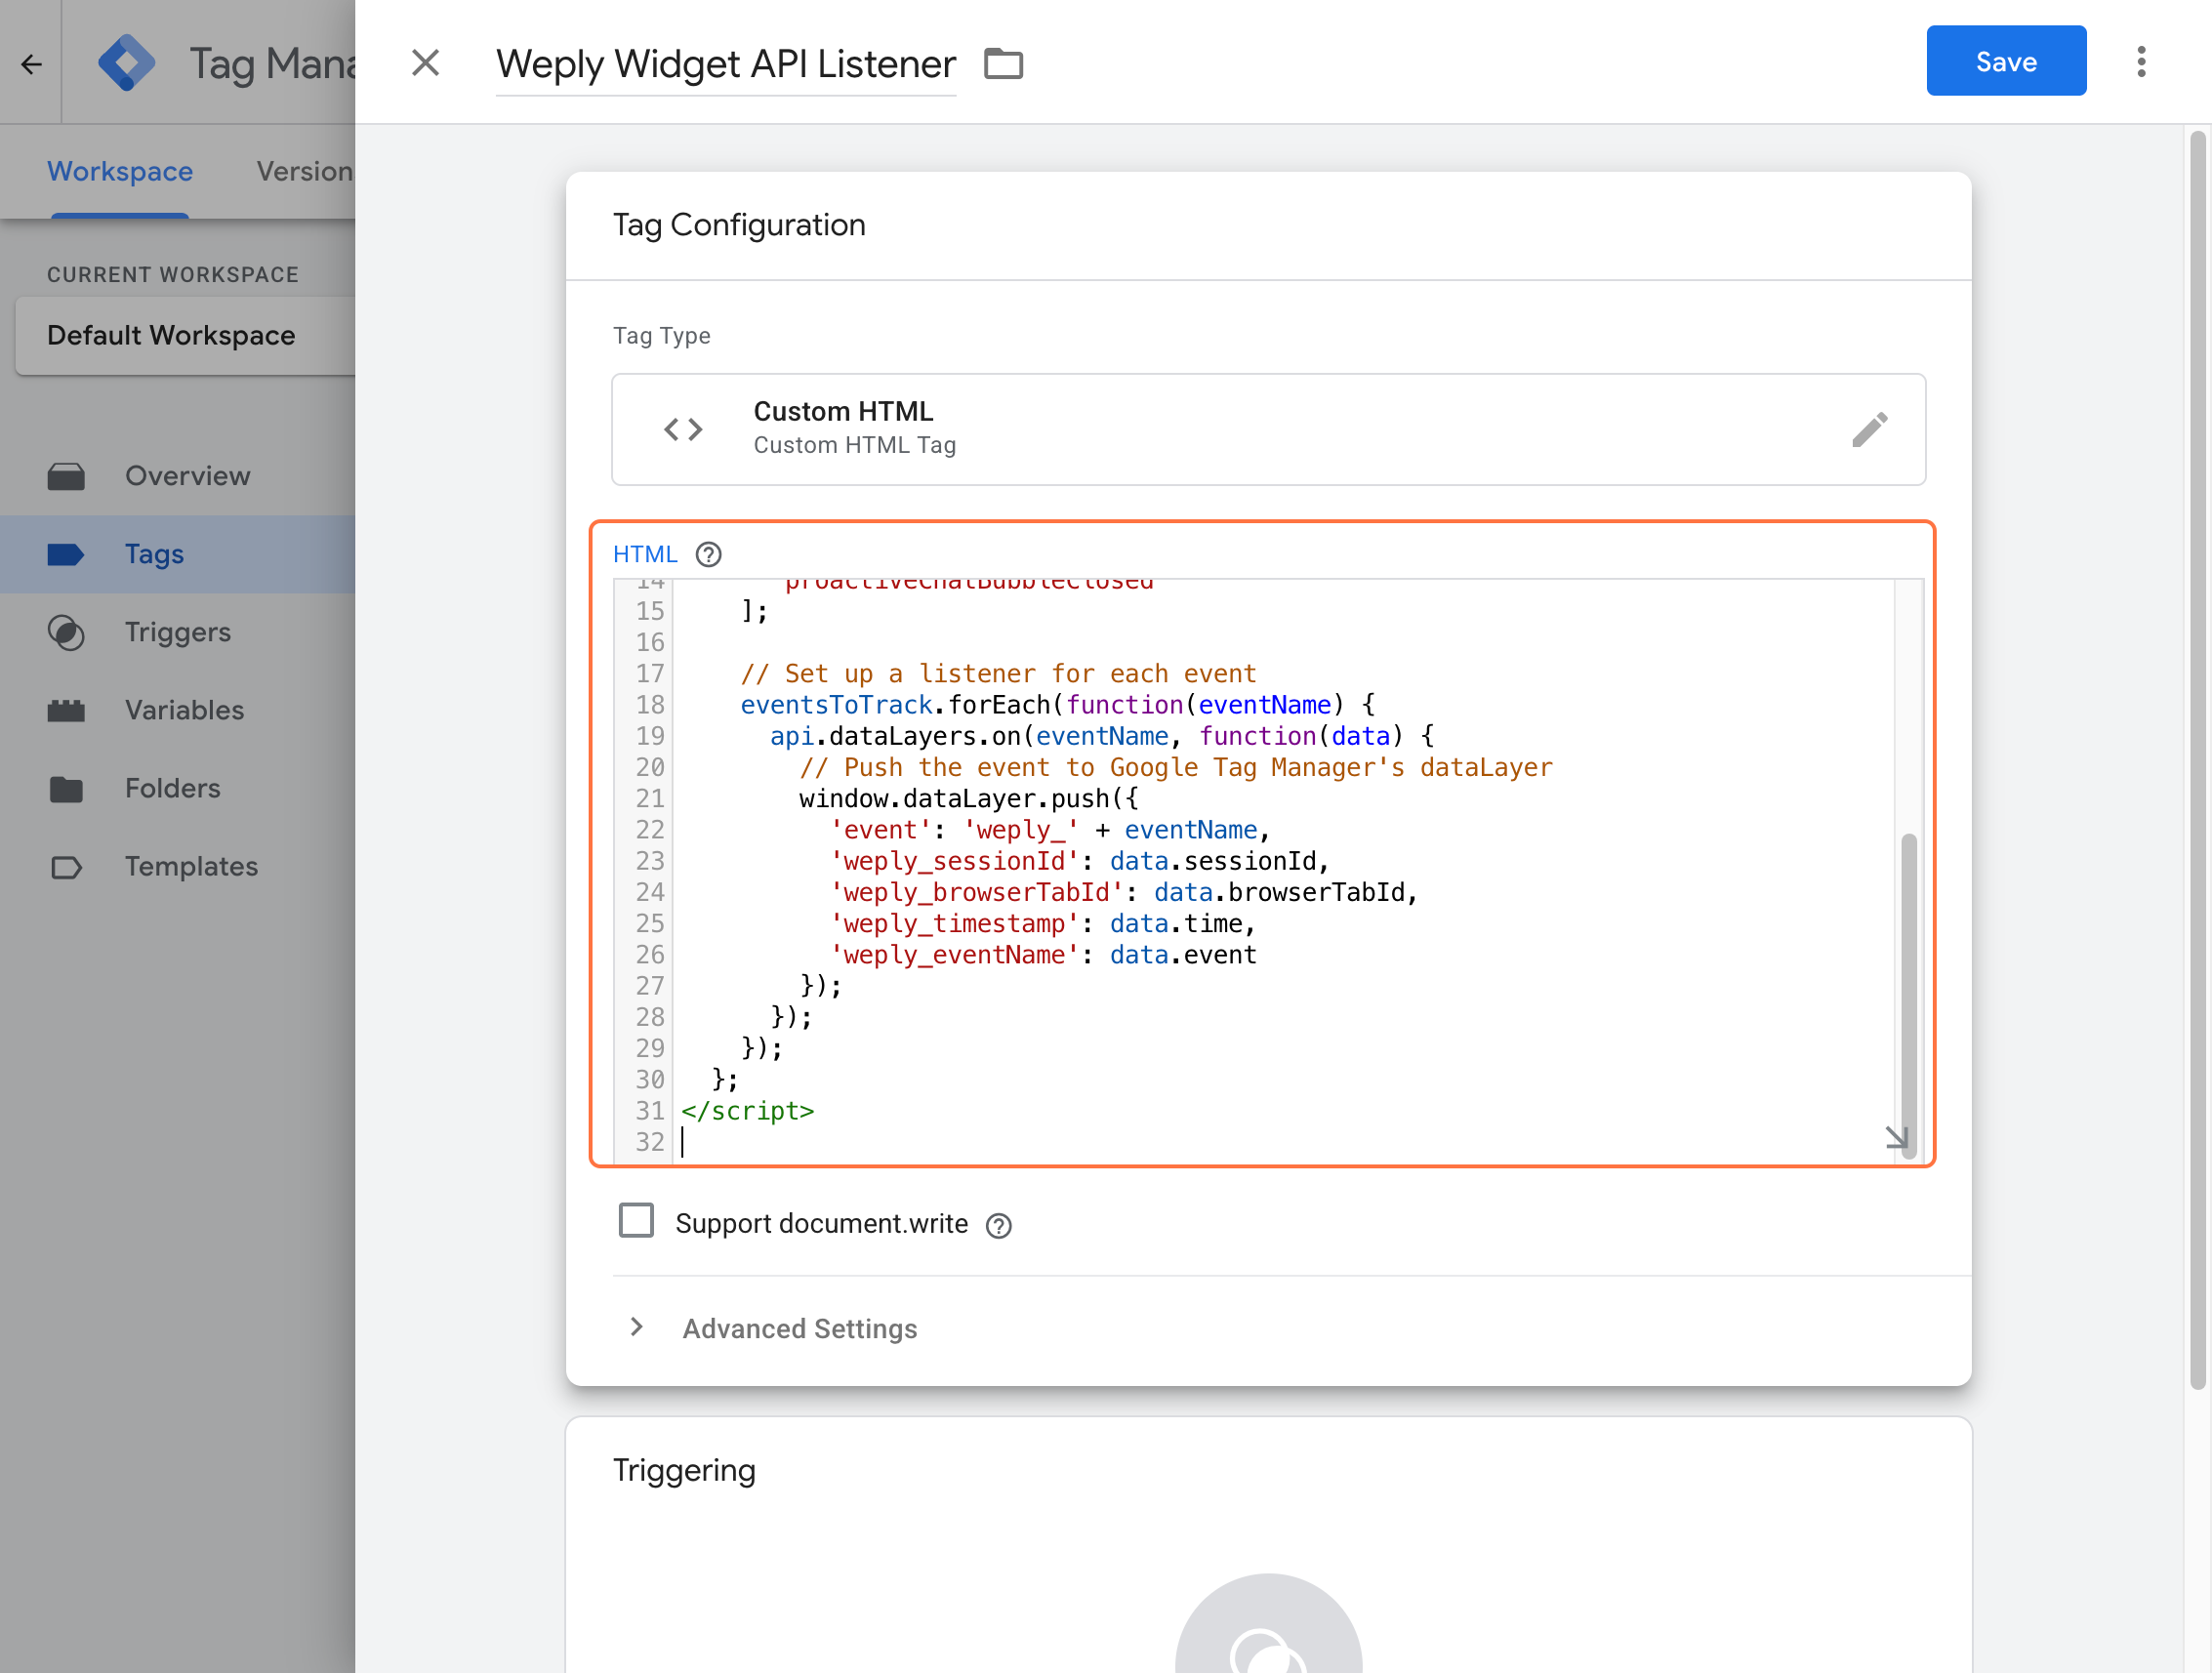
2.4. Name your tag: Weply Widget API Listener
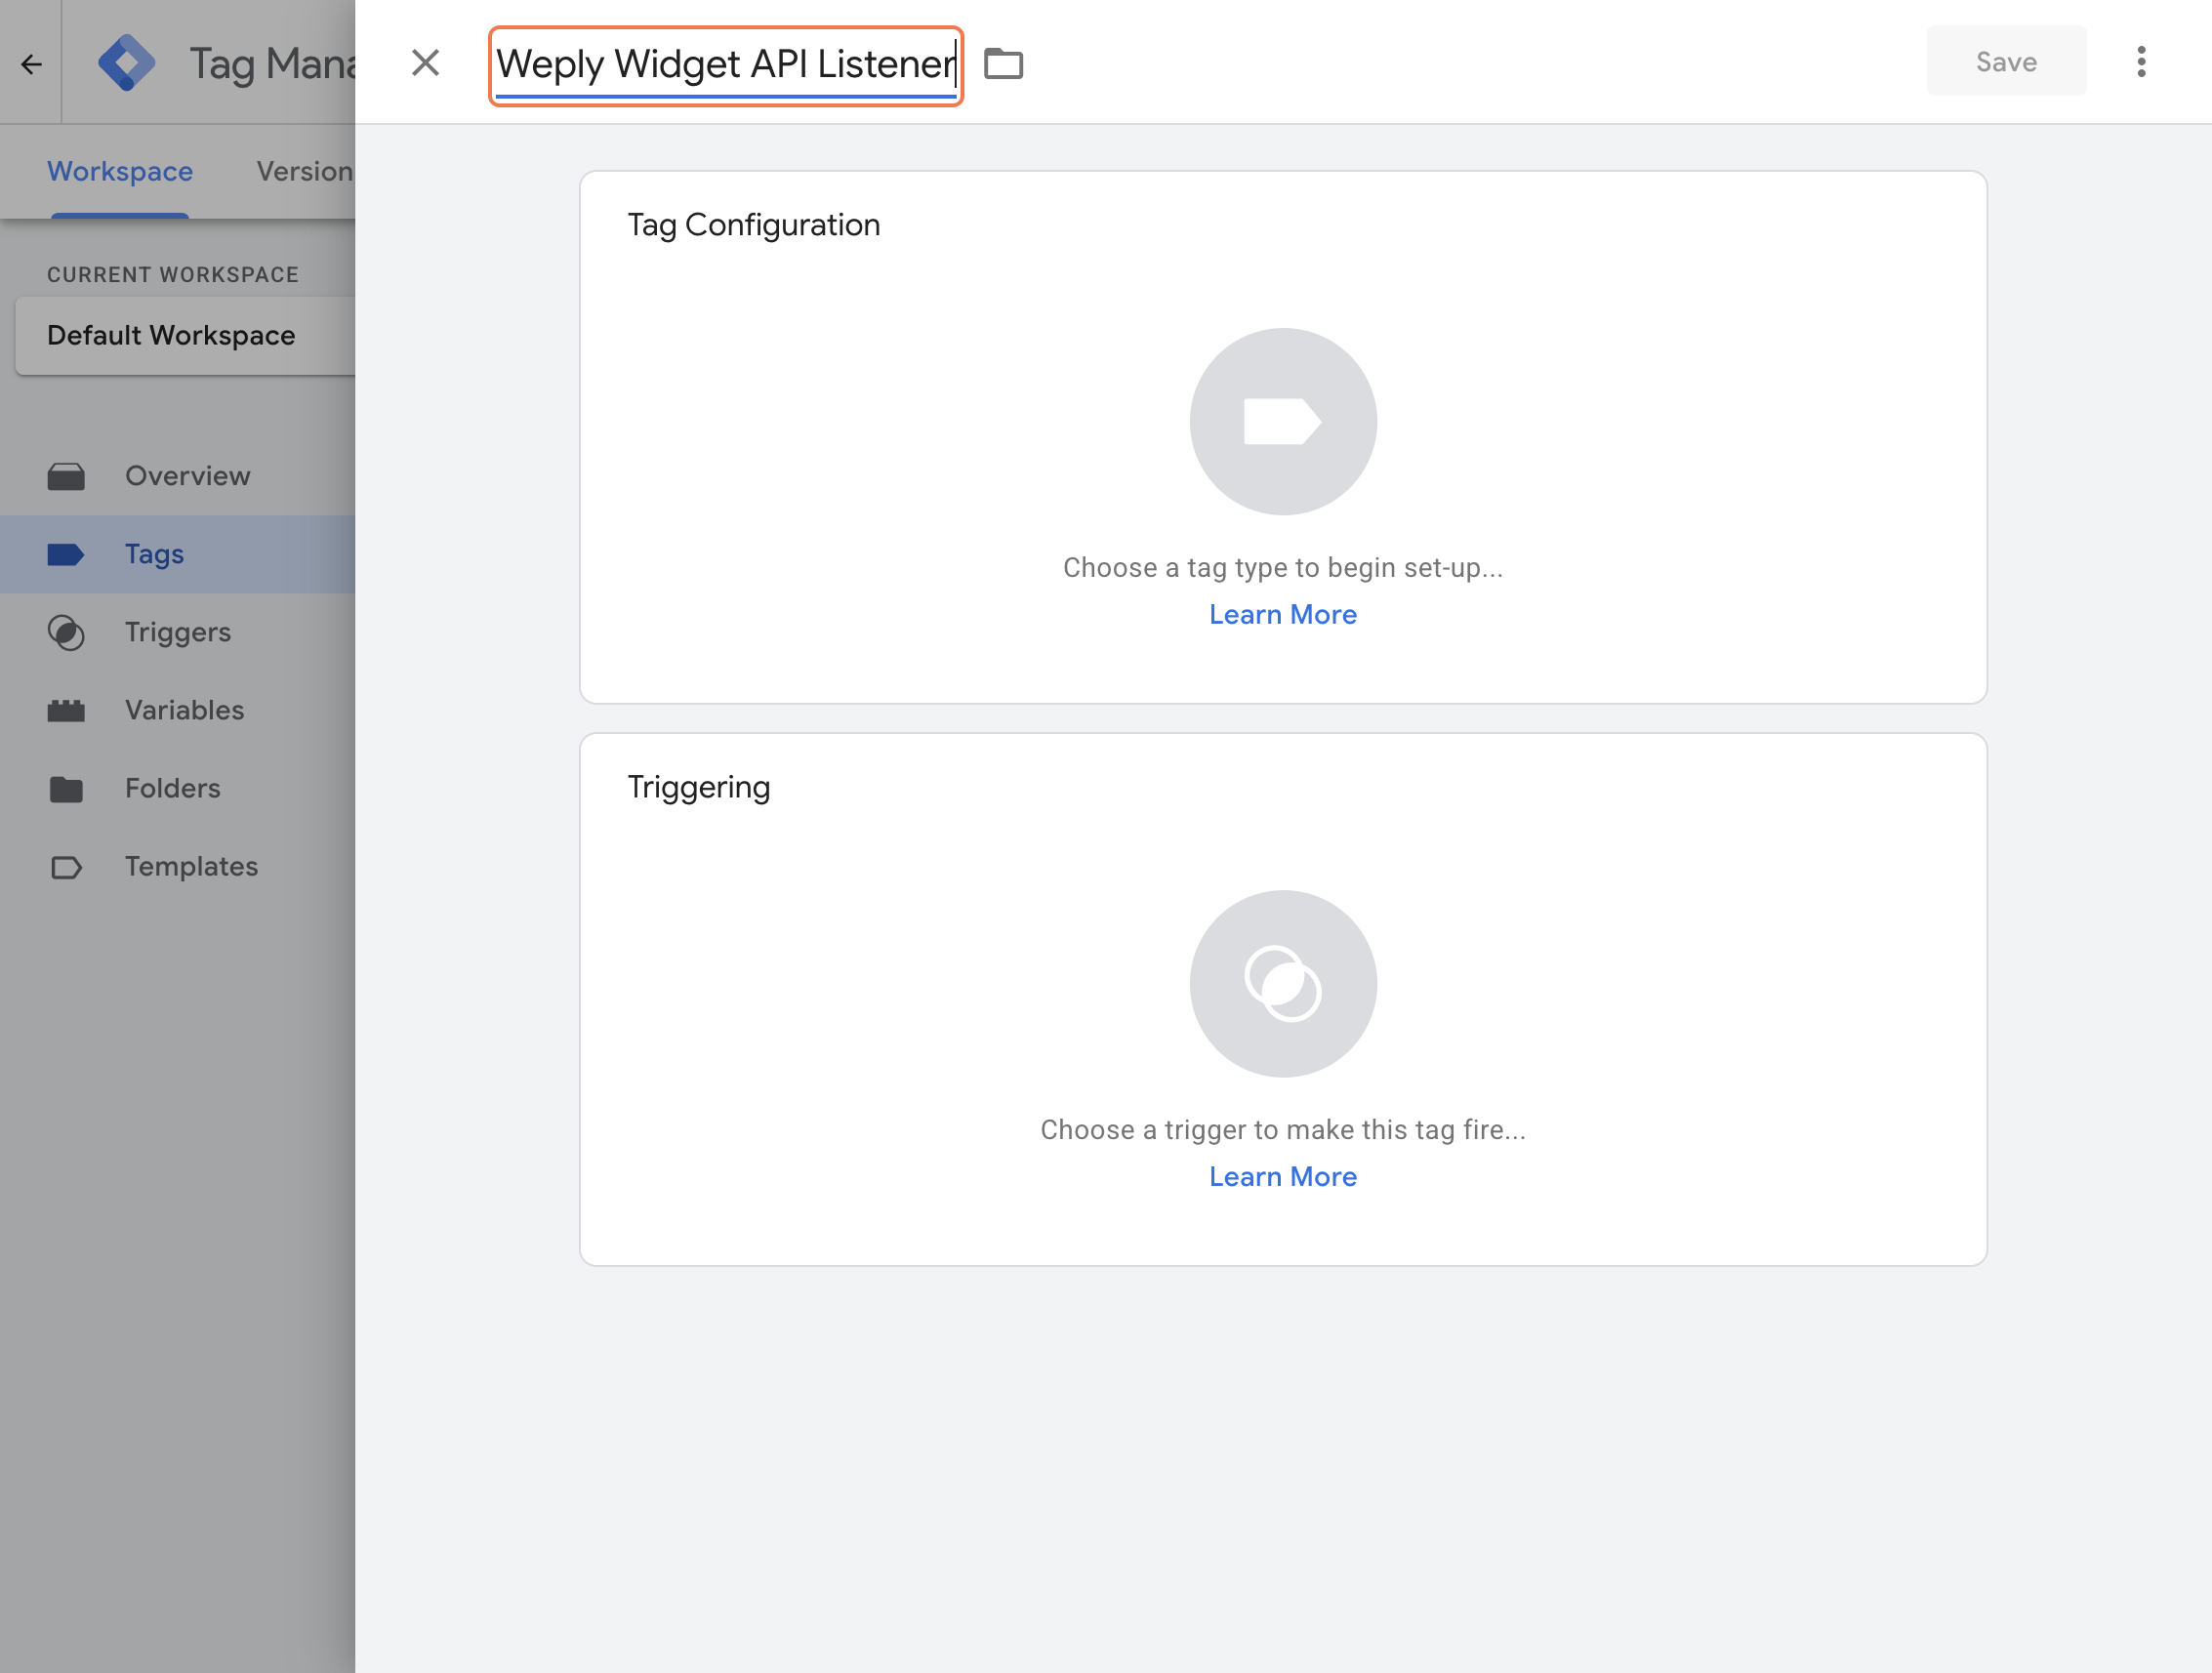
2.5. Click the Tag Configuration box
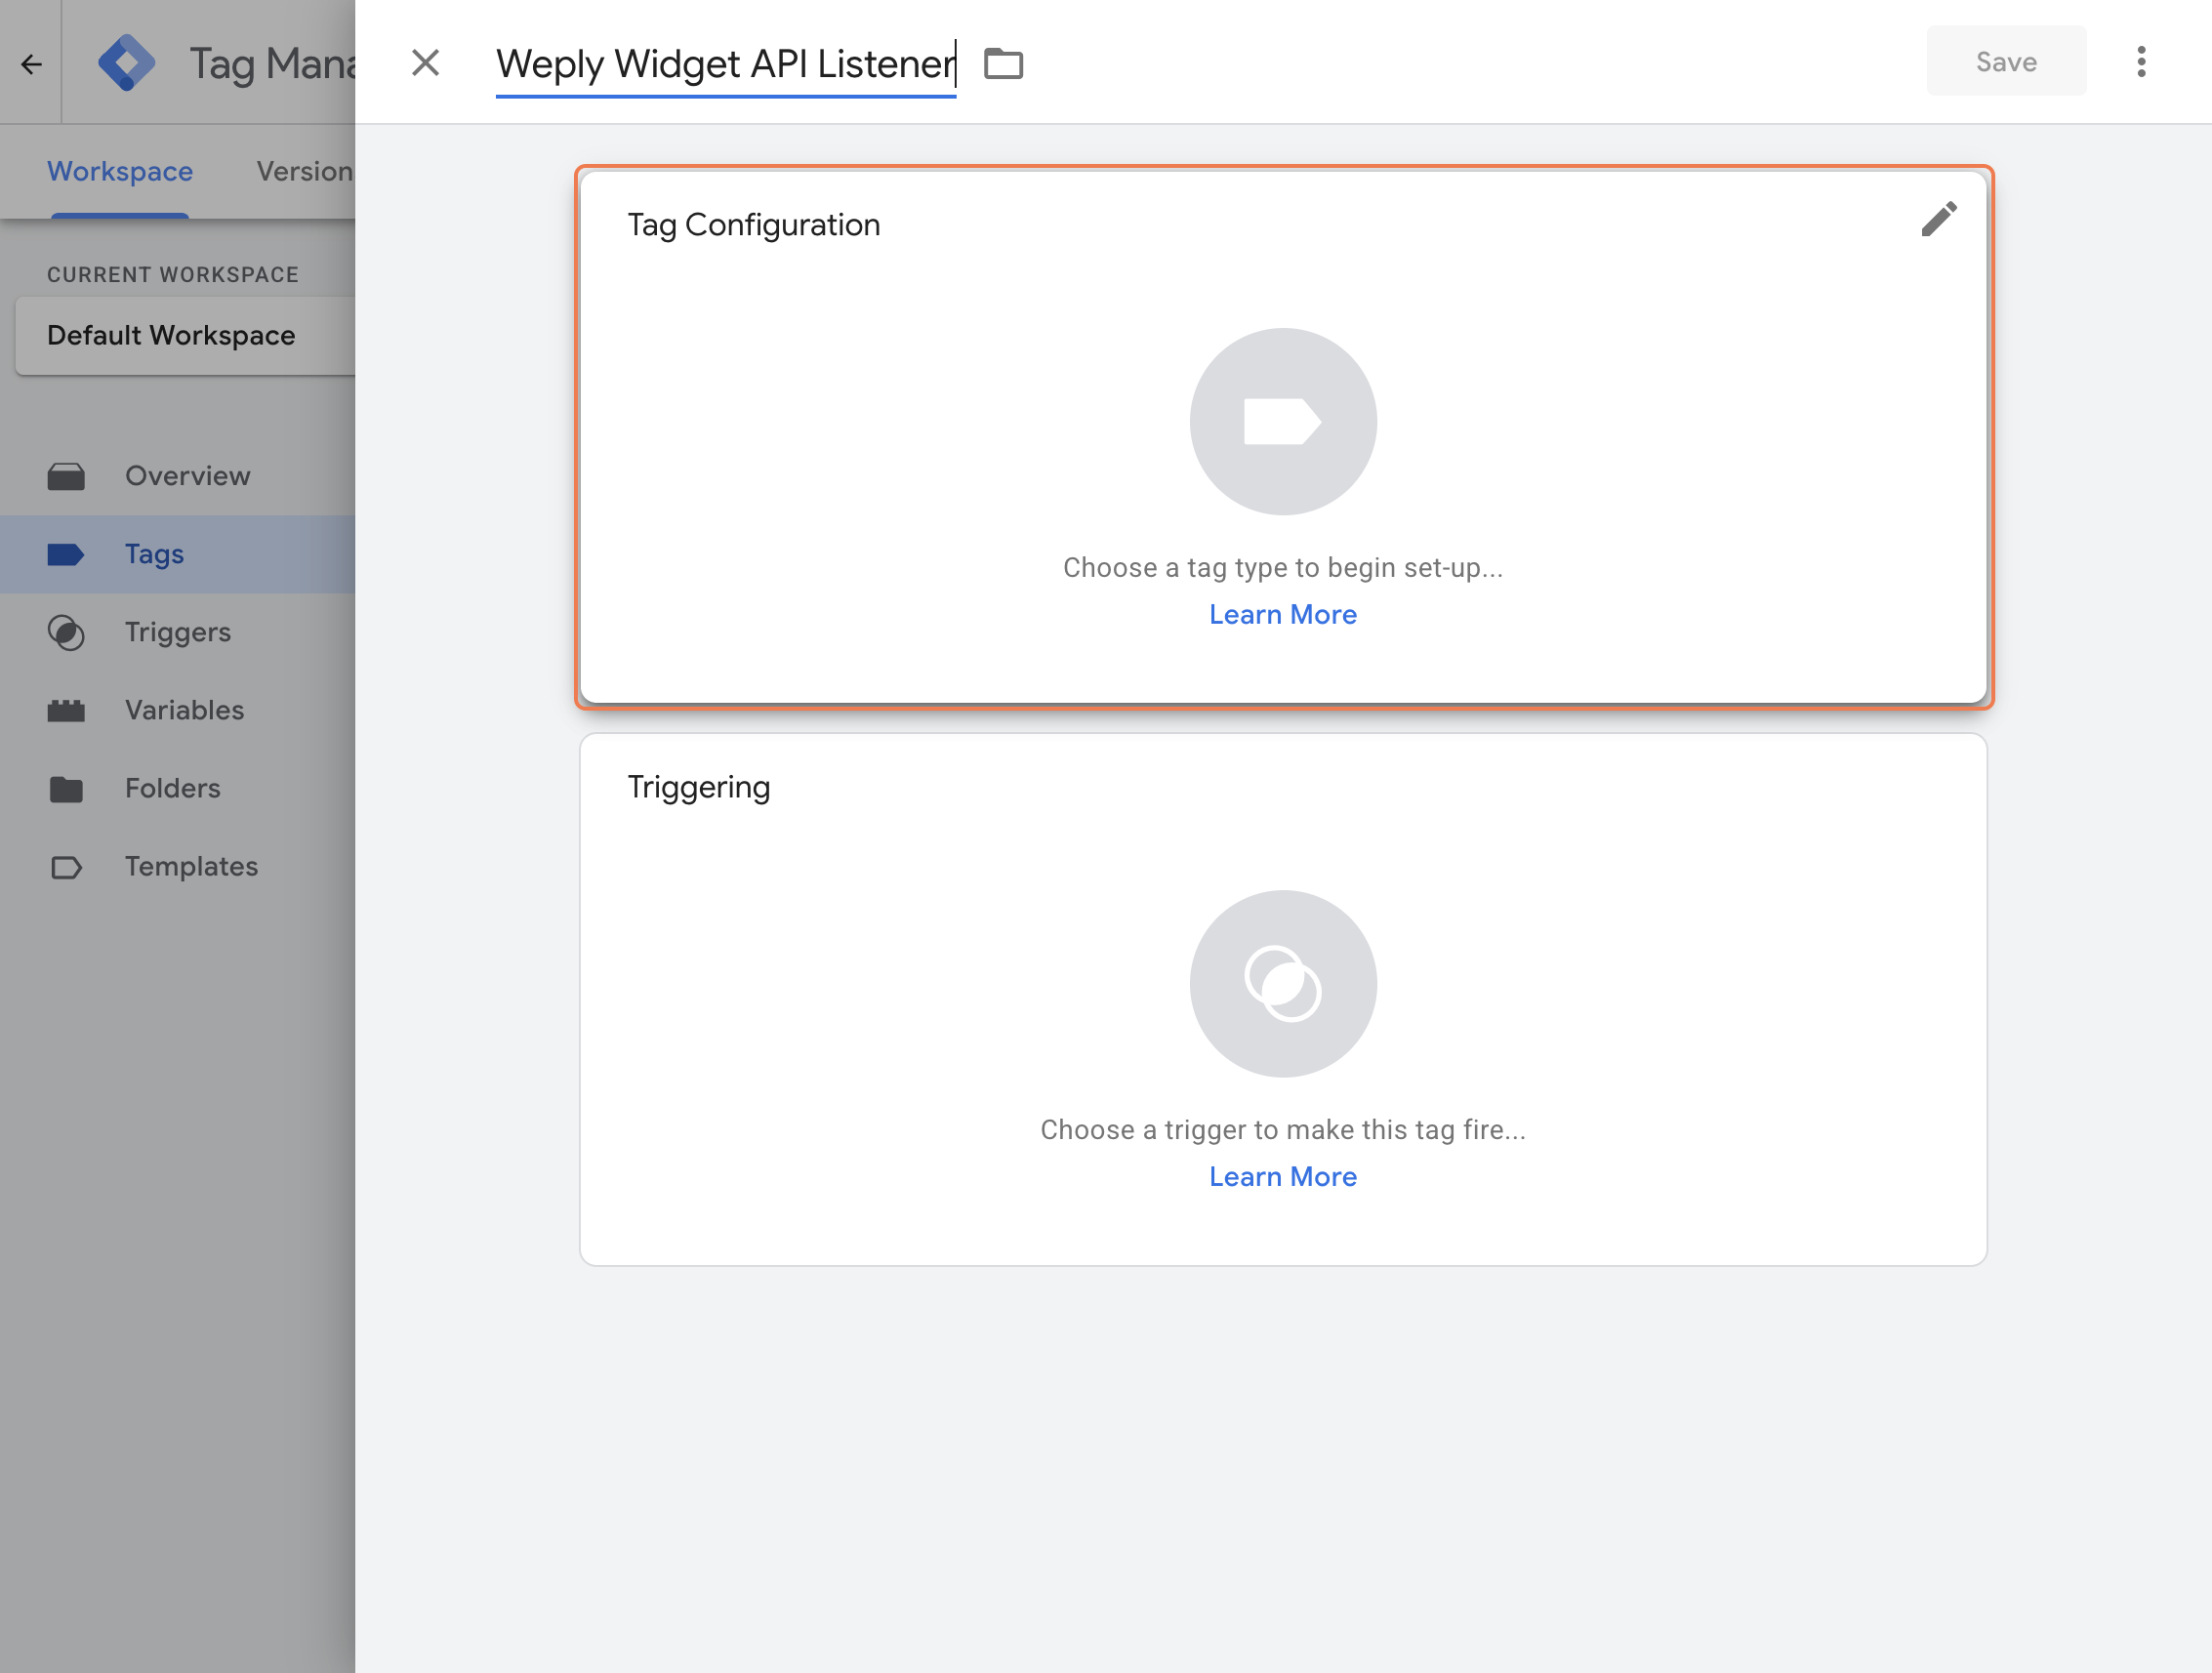
2.6. Select Custom HTML
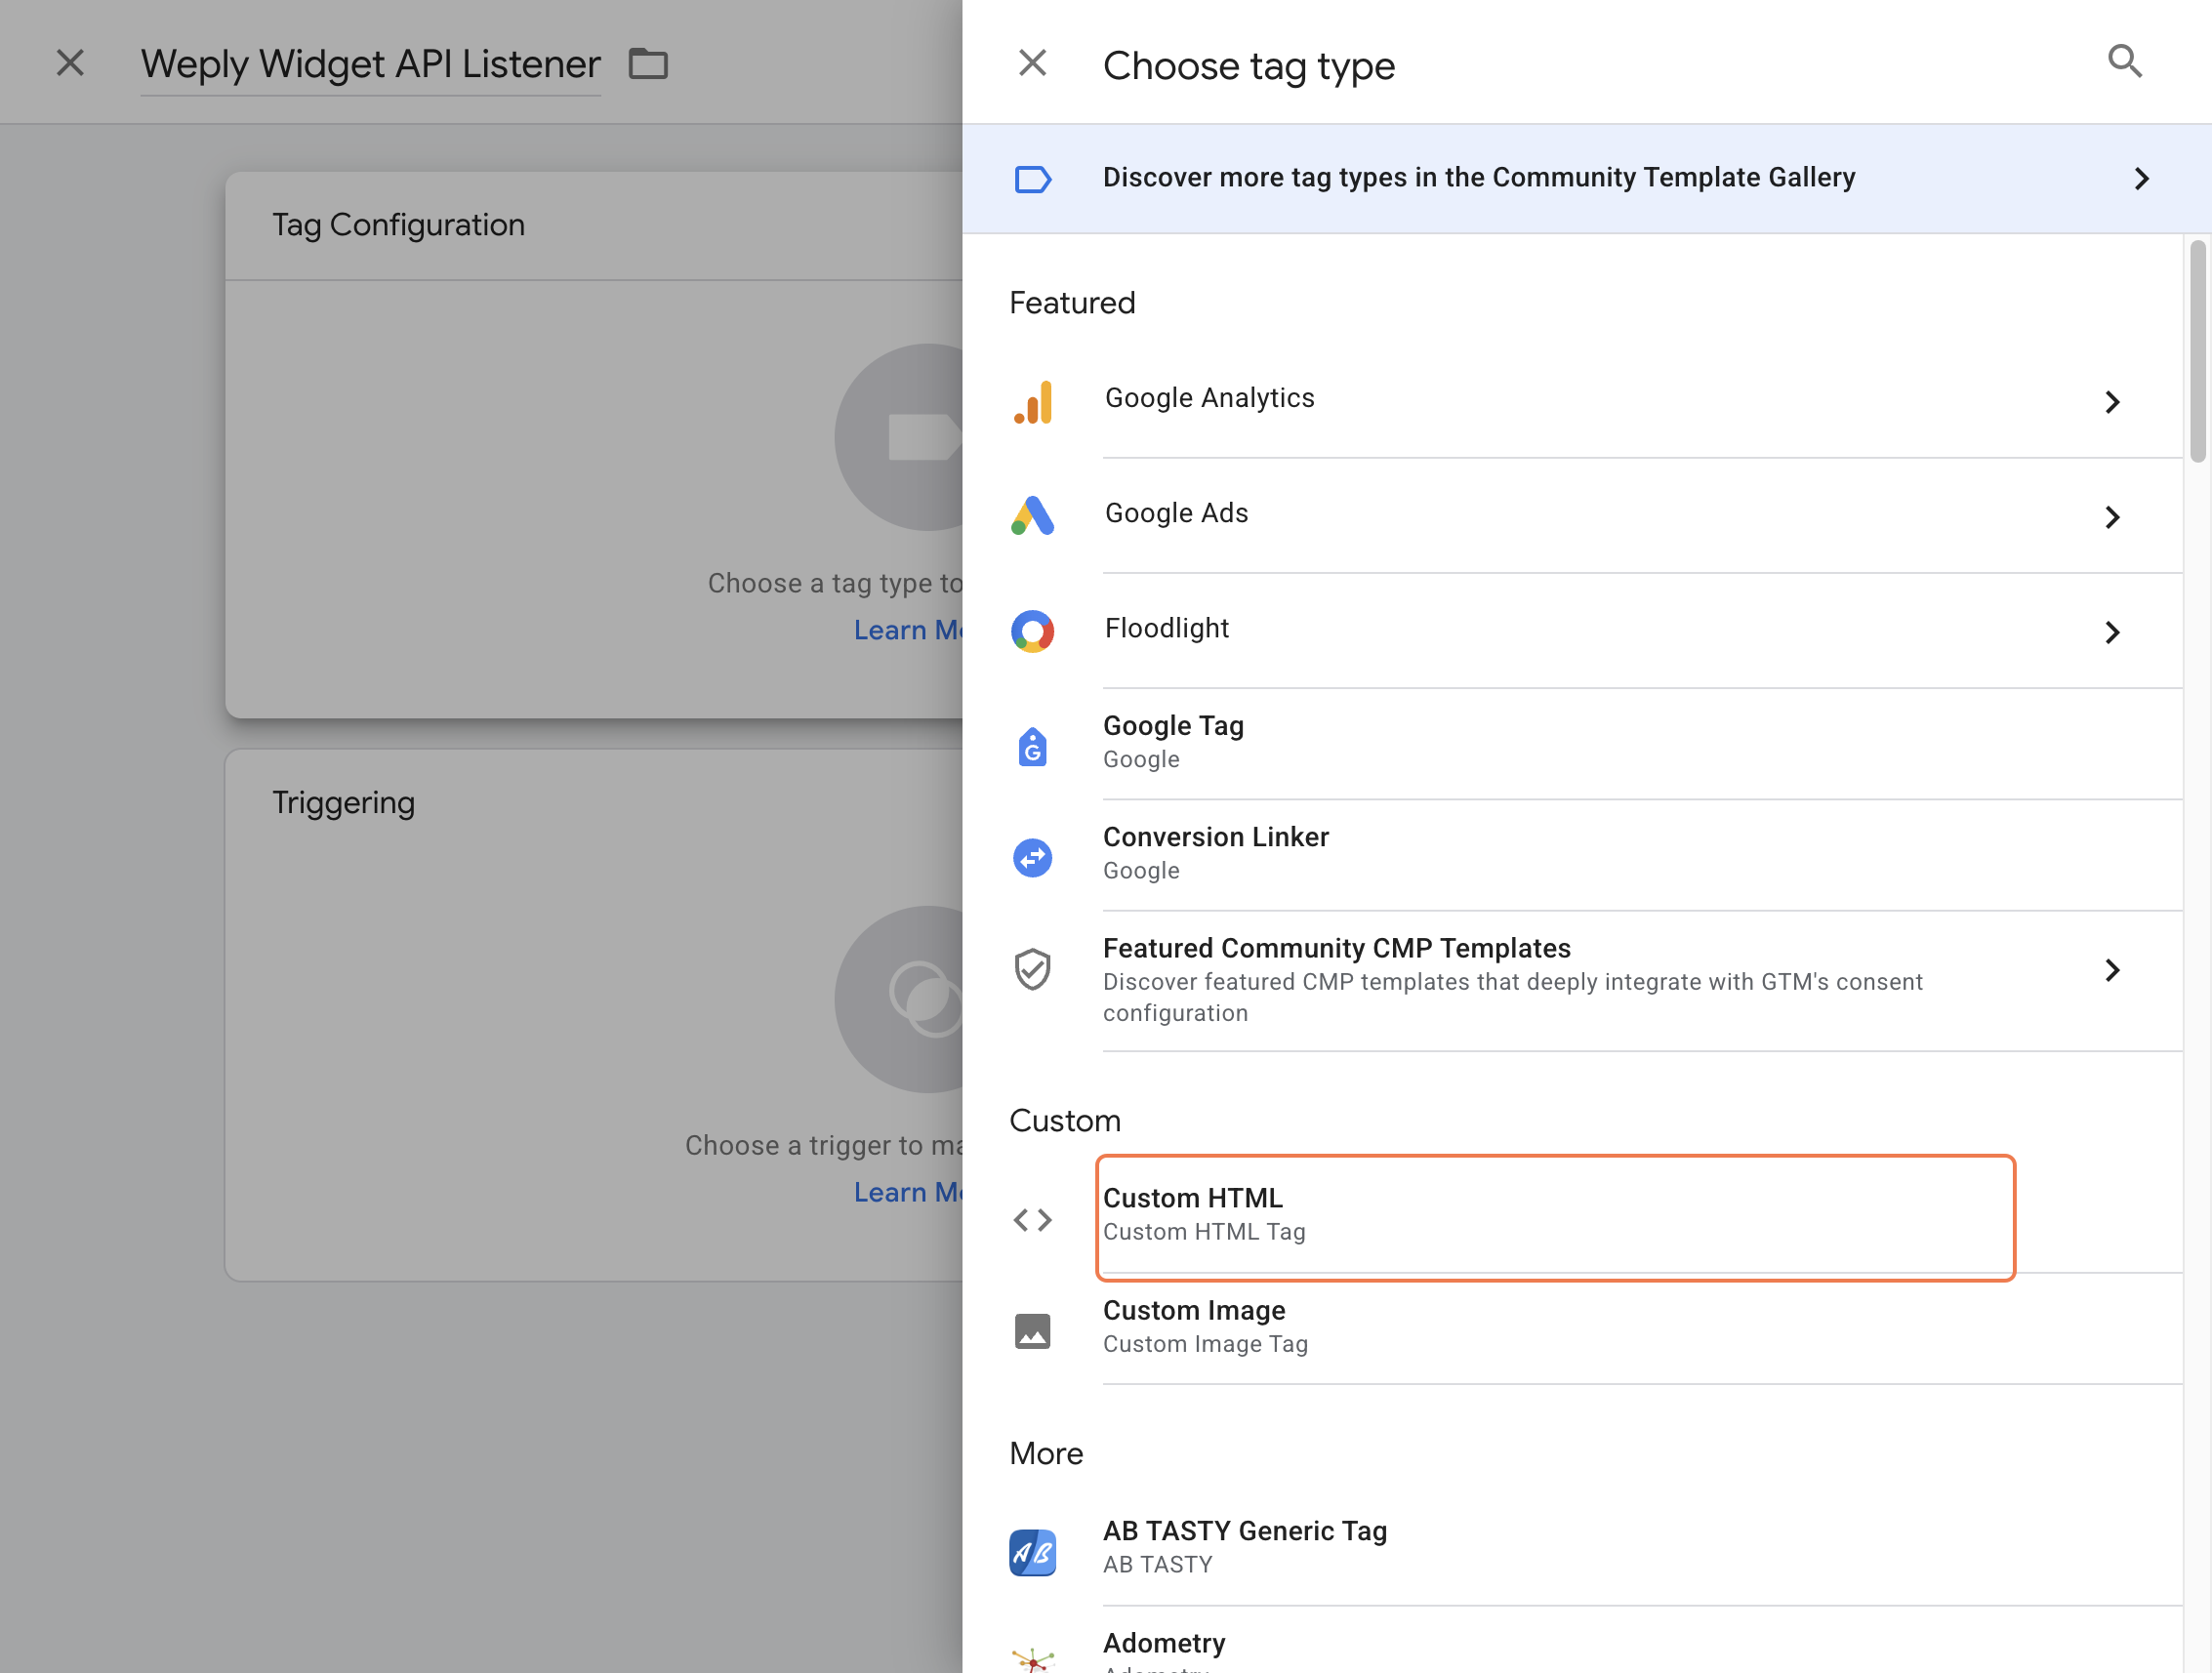
2.7. Paste the code from Step 1 into the HTML box
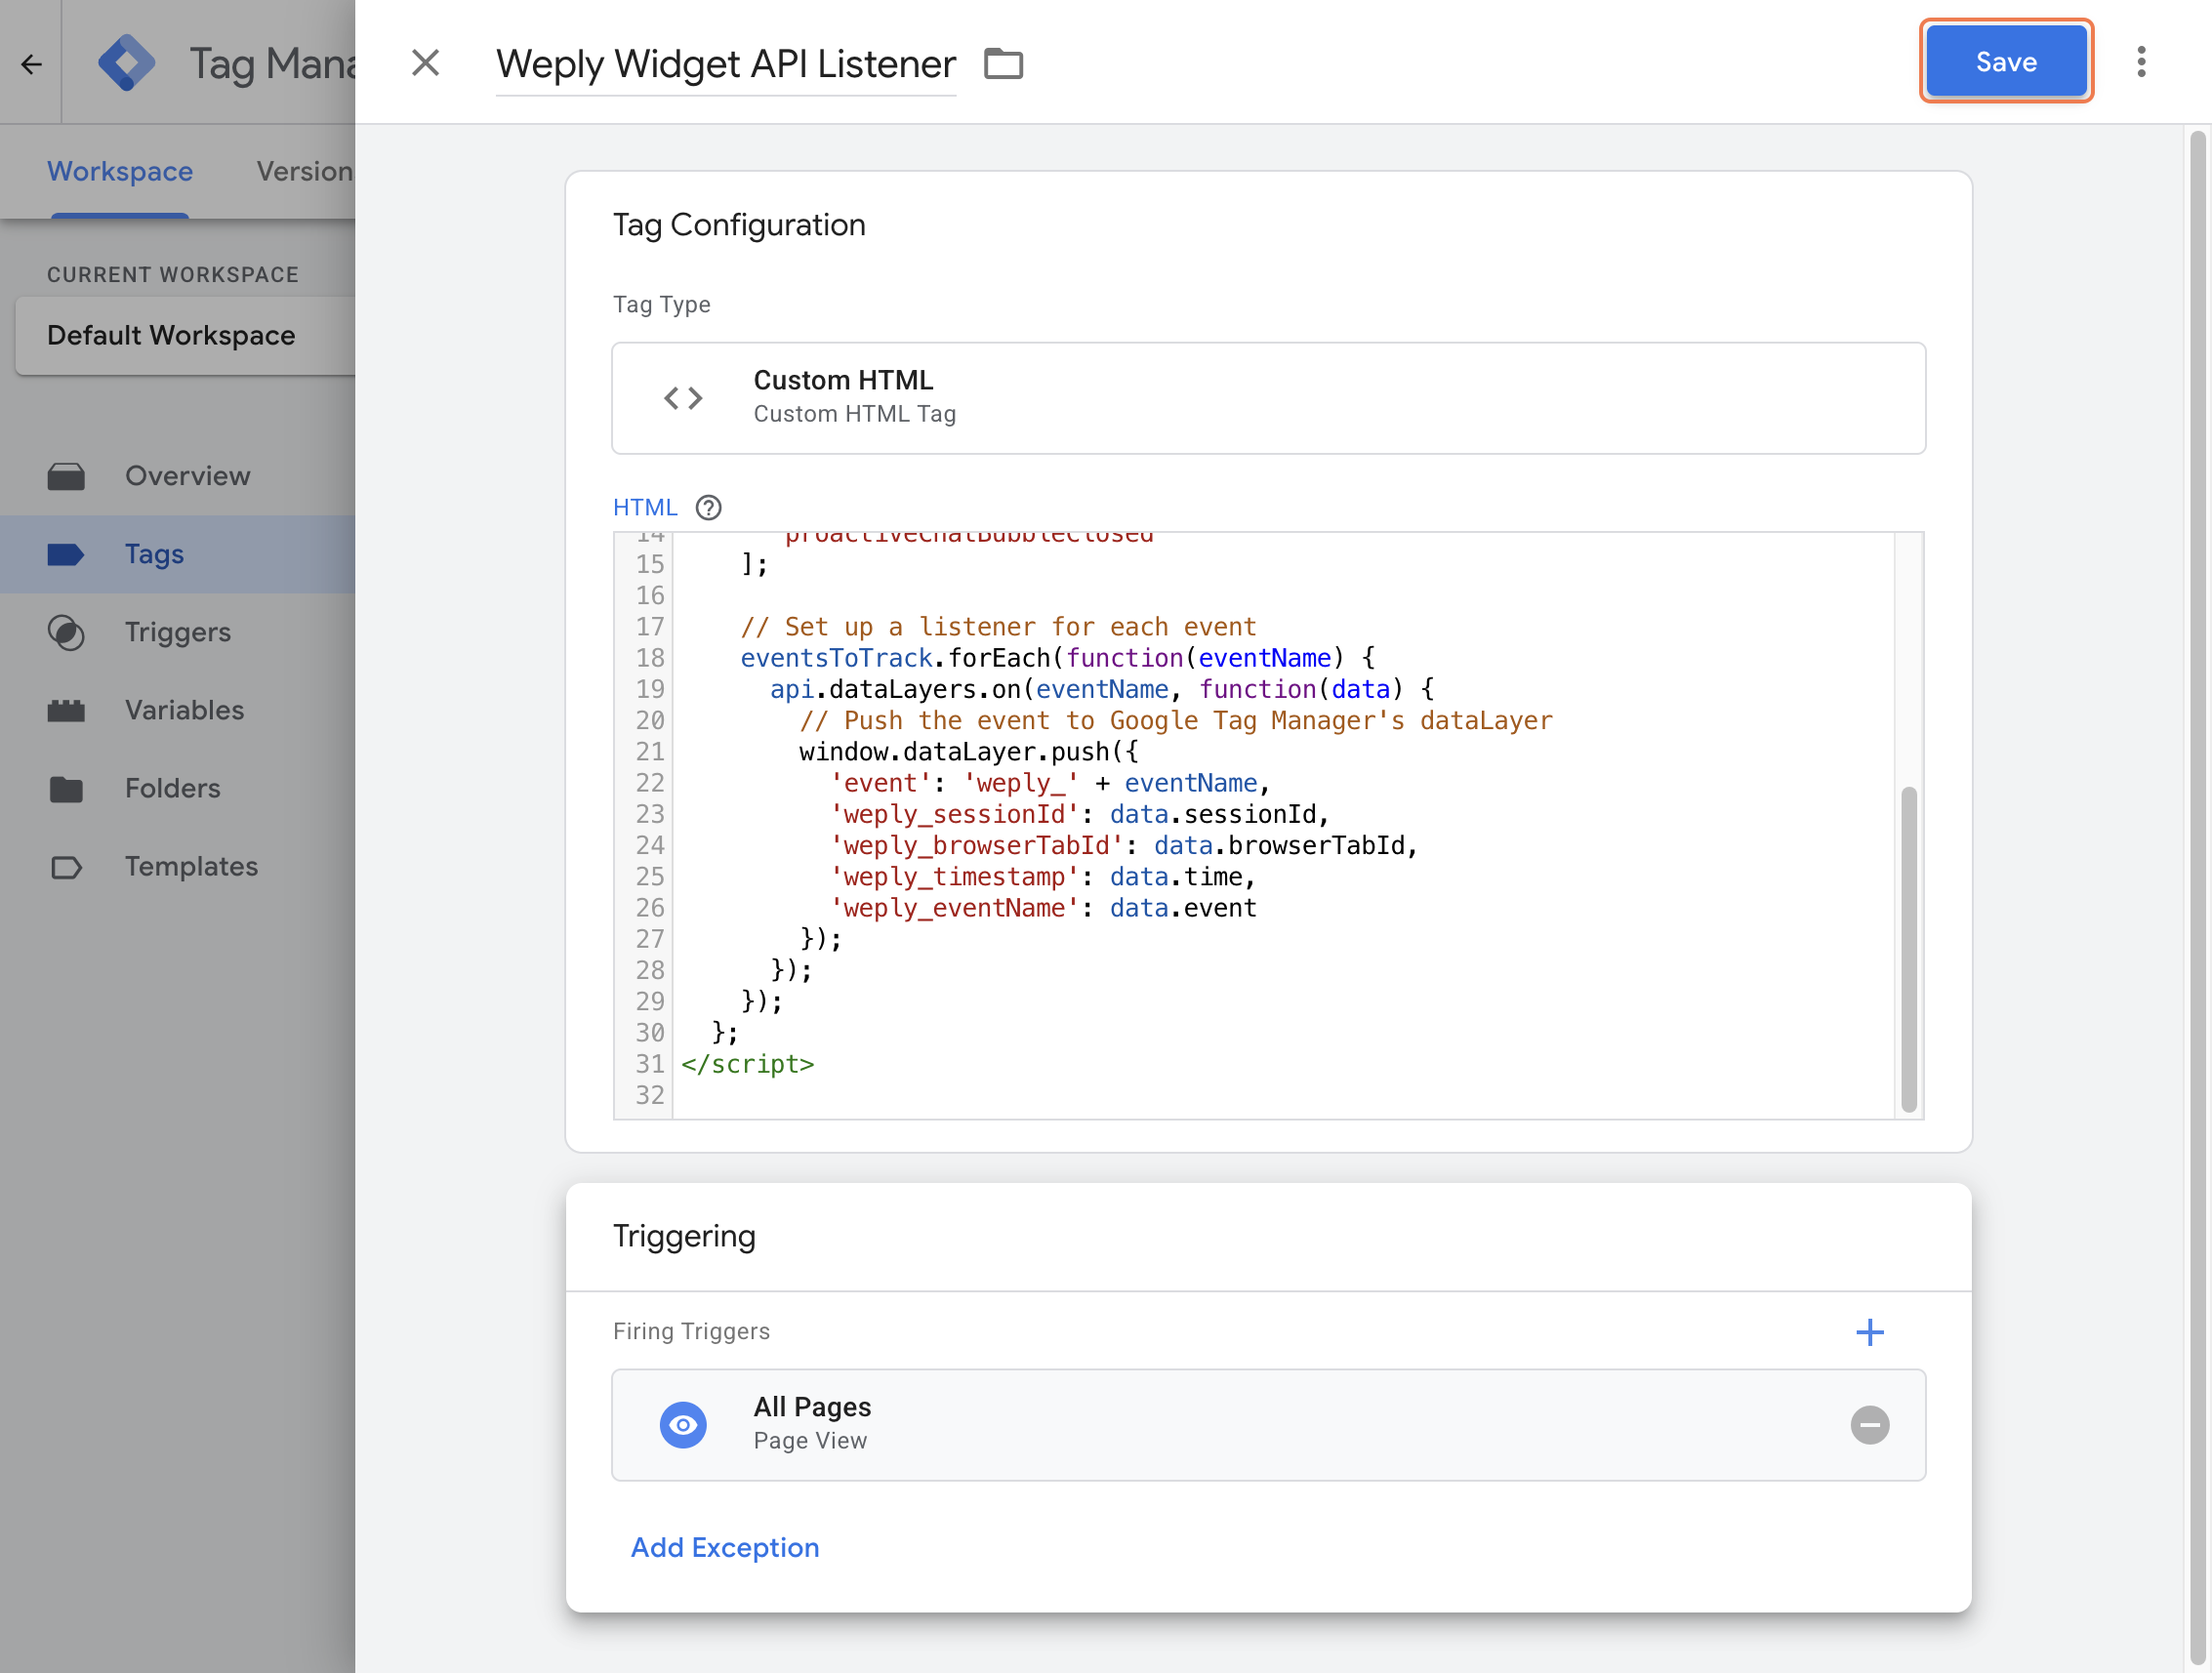
2.8. Click the Triggering box
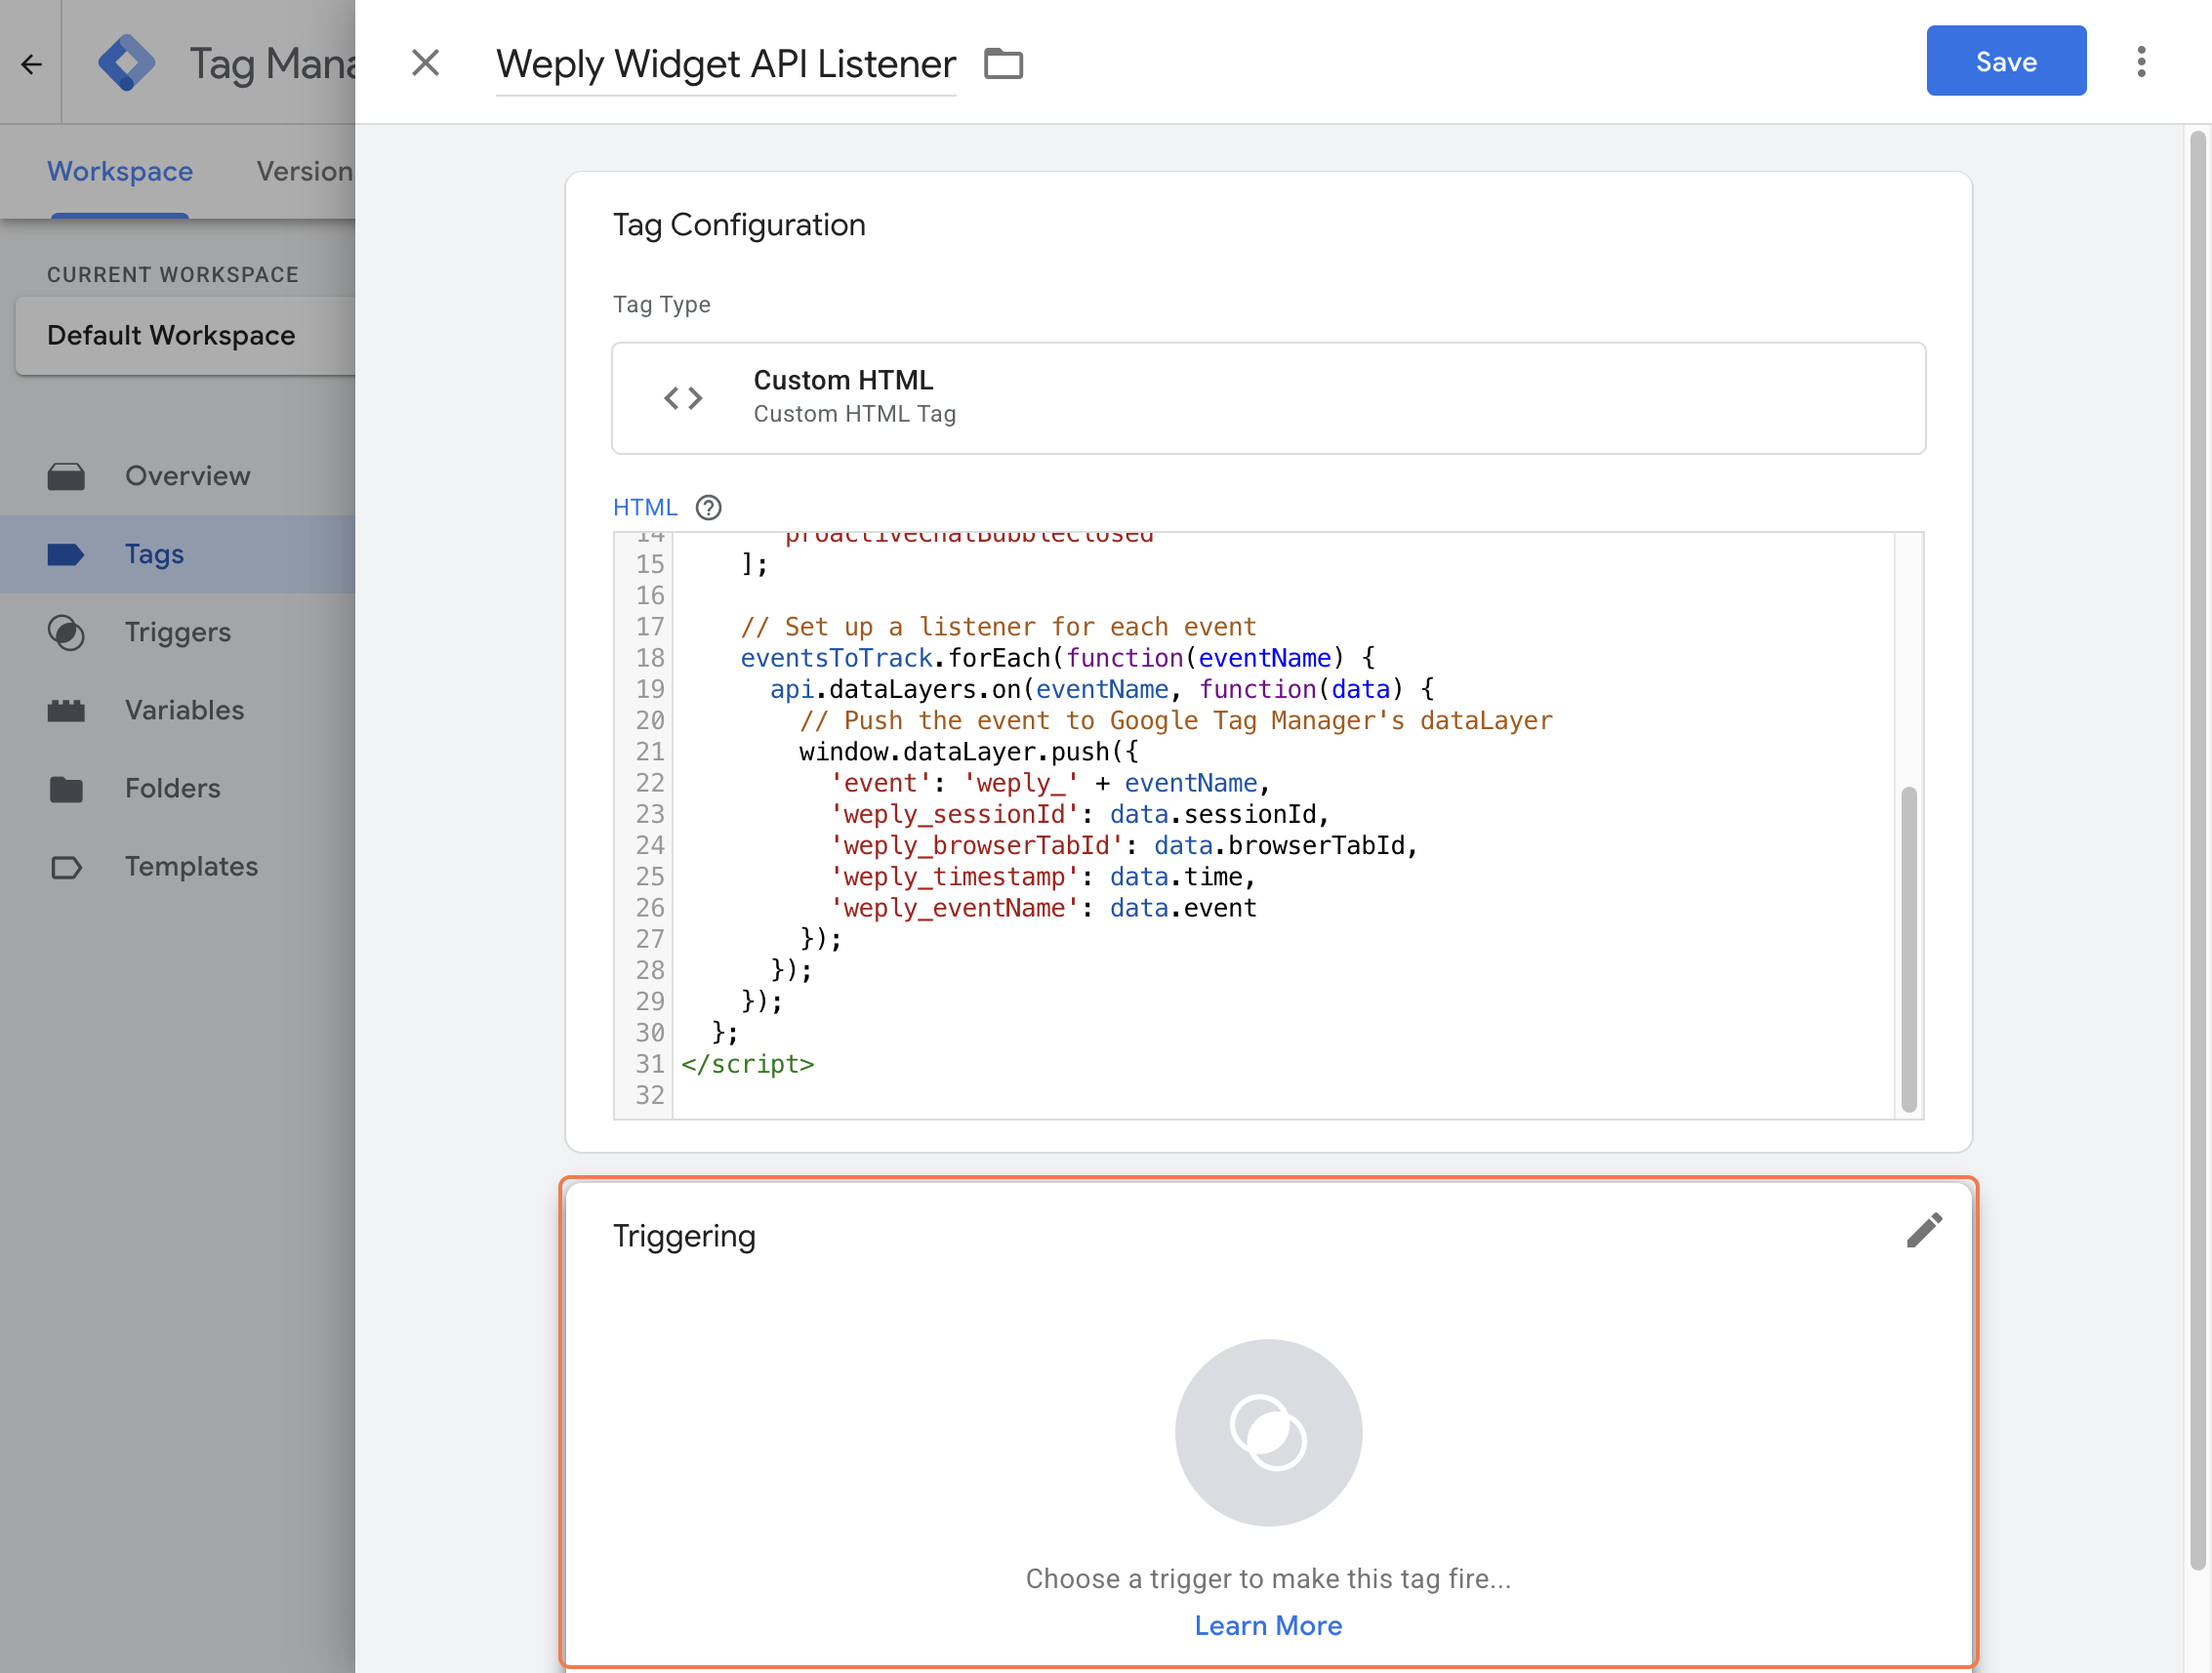
2.9. Select All Pages (this ensures the code loads on every page)

2.10. Click Save
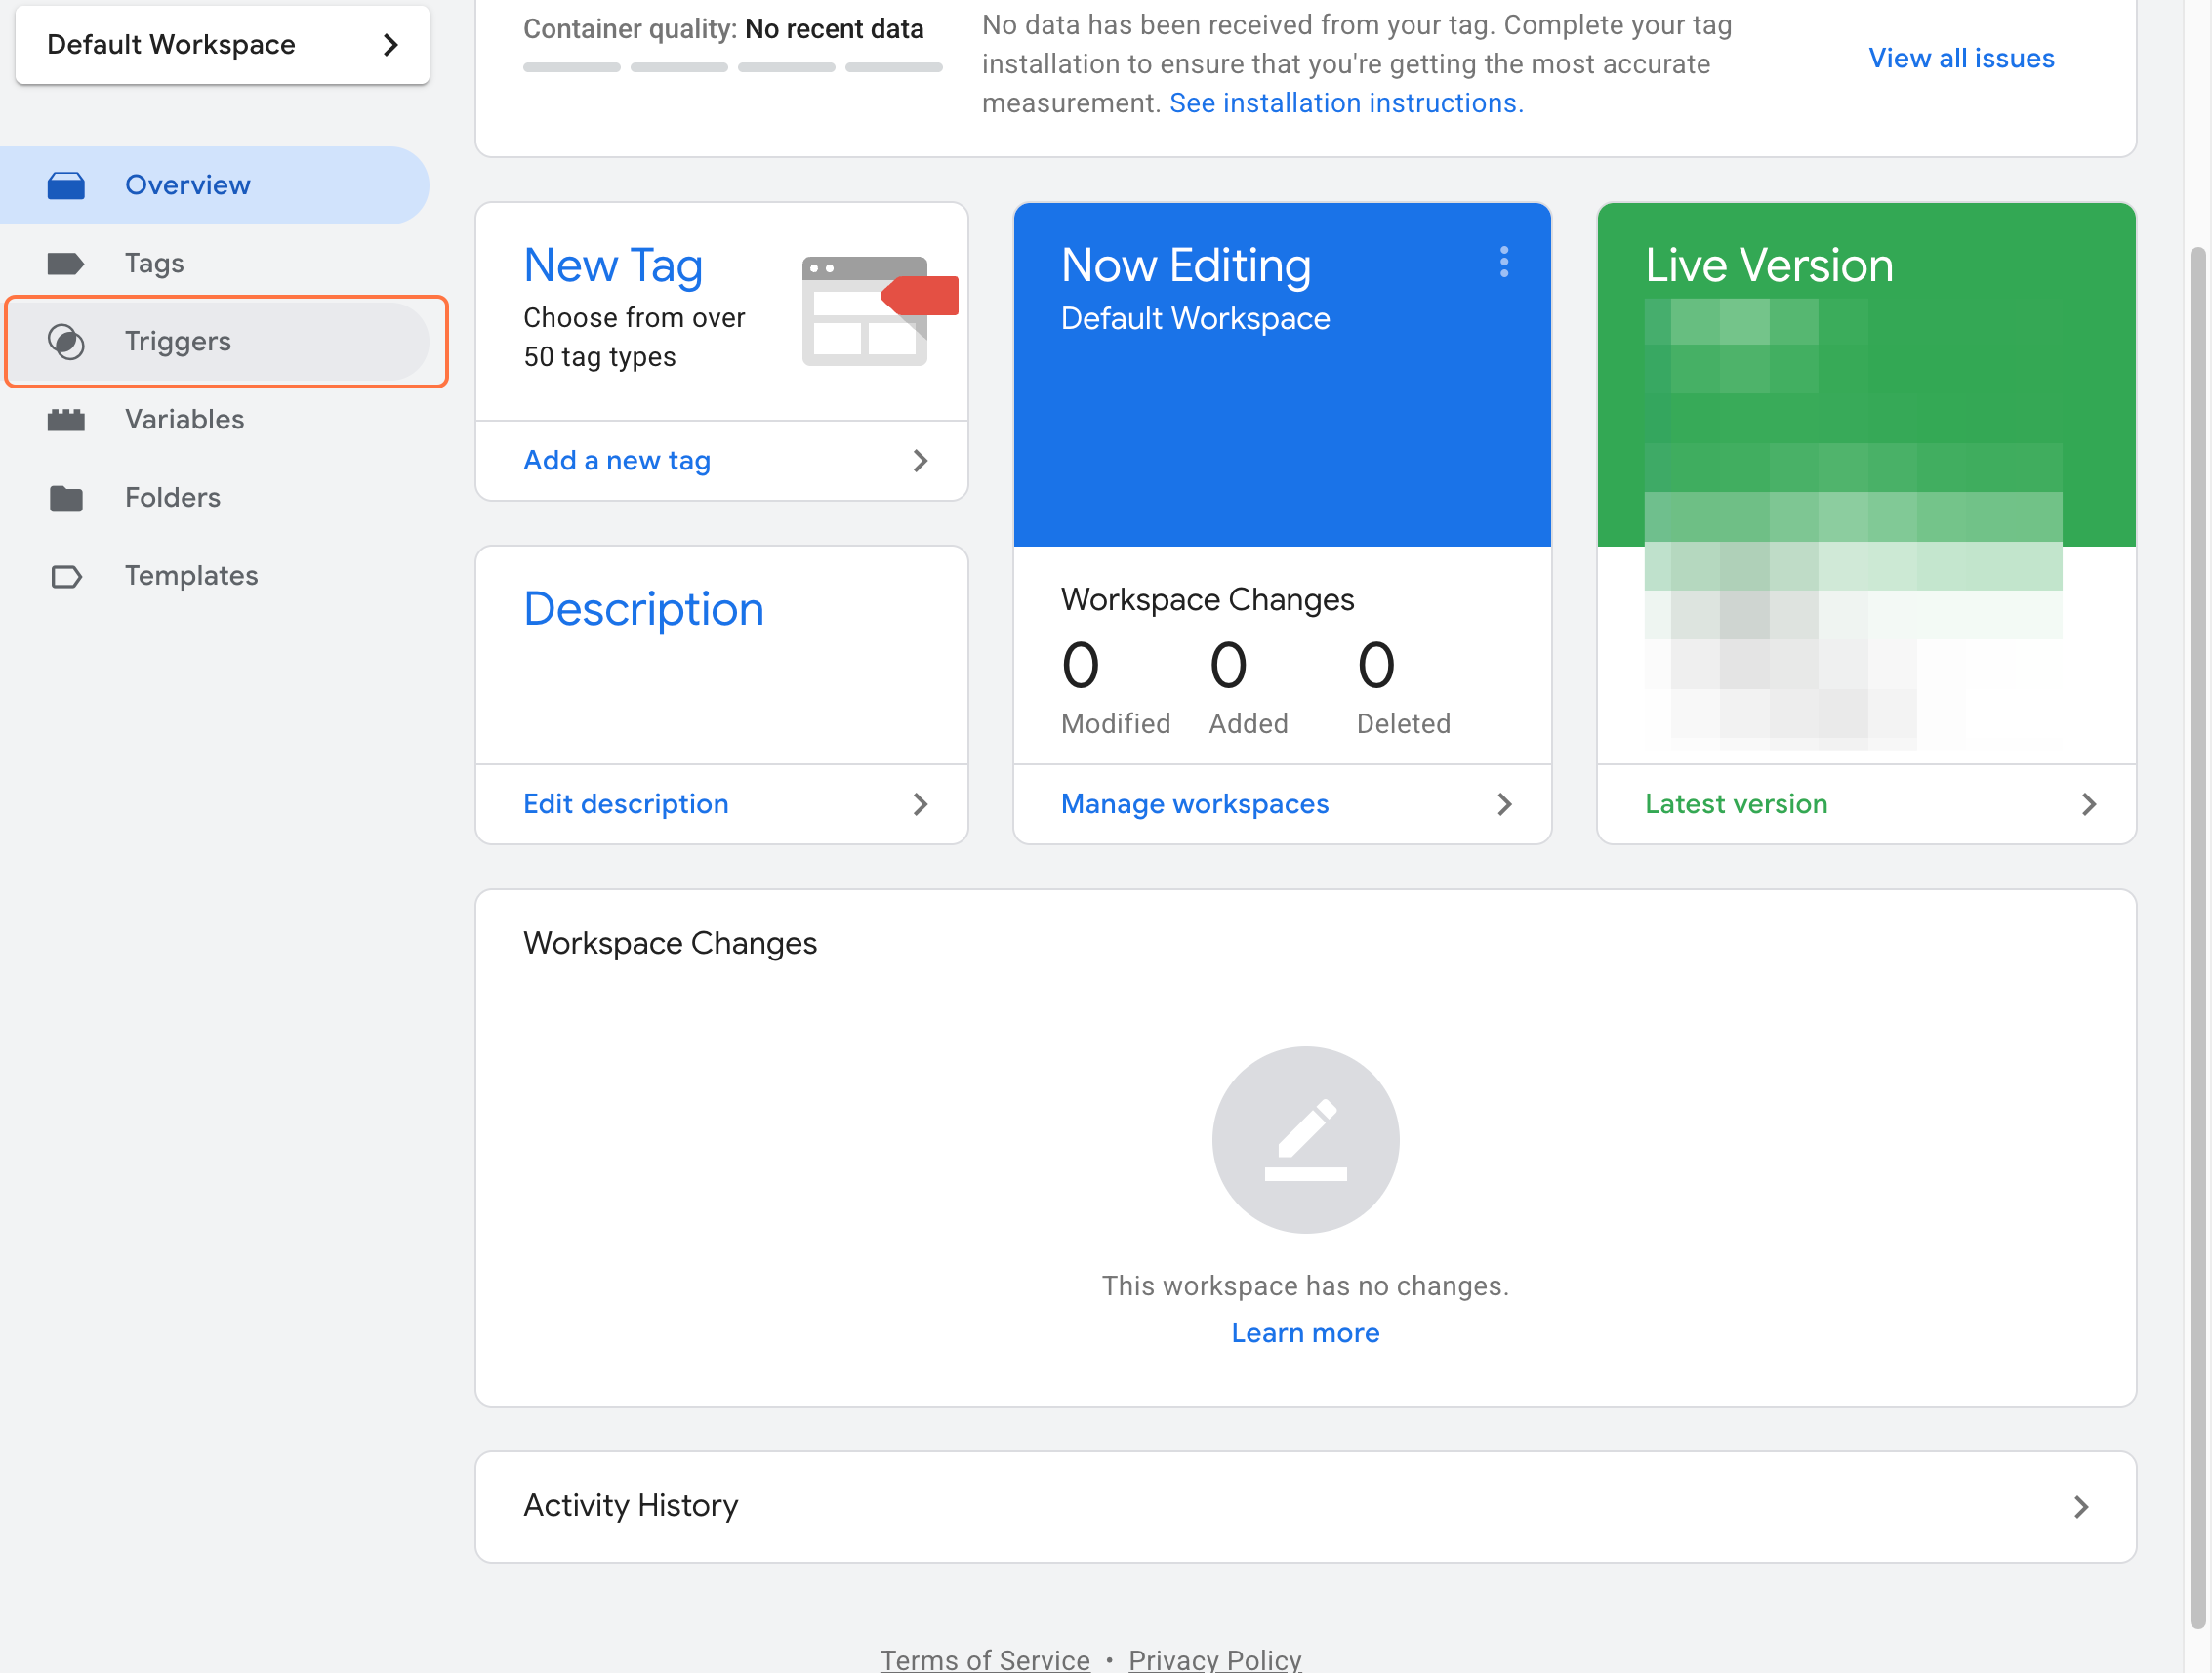
You can choose to Publish your changes now, or continue to the next step.
Step 3: Create Custom Event Triggers in Google Tag Manager
Now you need to tell Google Tag Manager to watch for these Weply events.
For each event you want to track:
3.1. Go to Triggers in the left sidebar
3.2 Click New

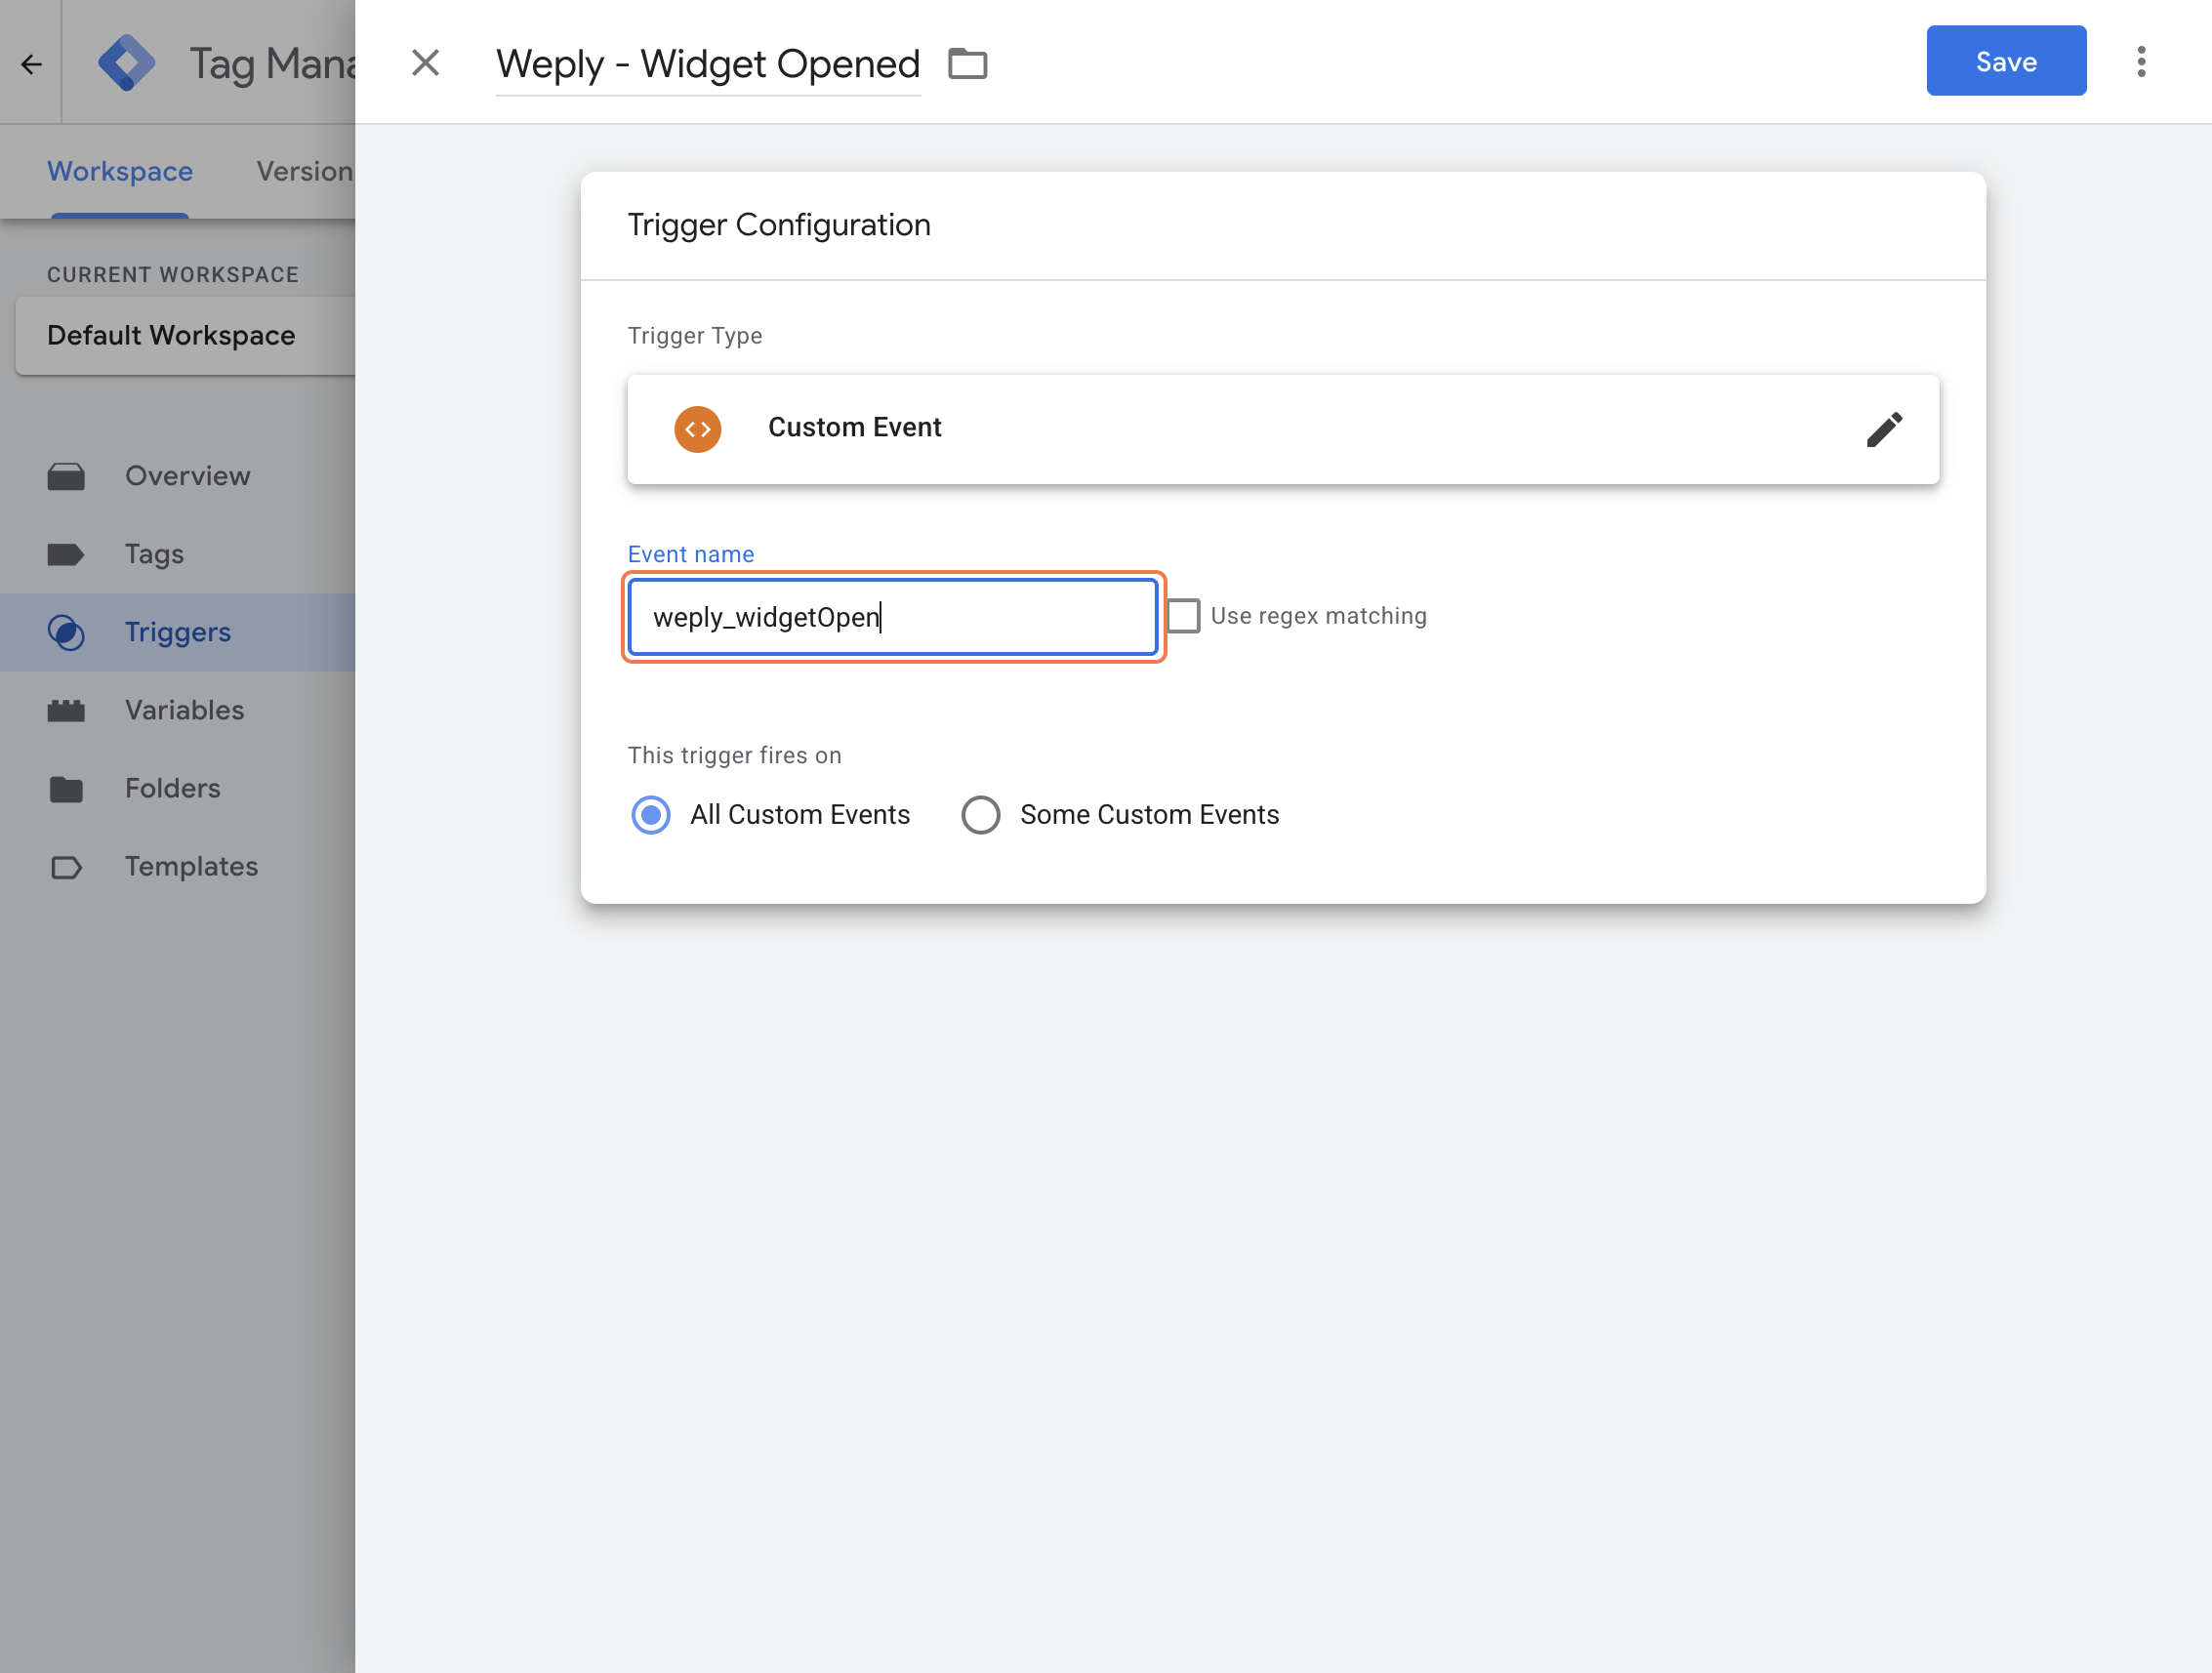
3.3 Name your trigger (example: "Weply - Widget Opened")

3.4 Click the Trigger Configuration box
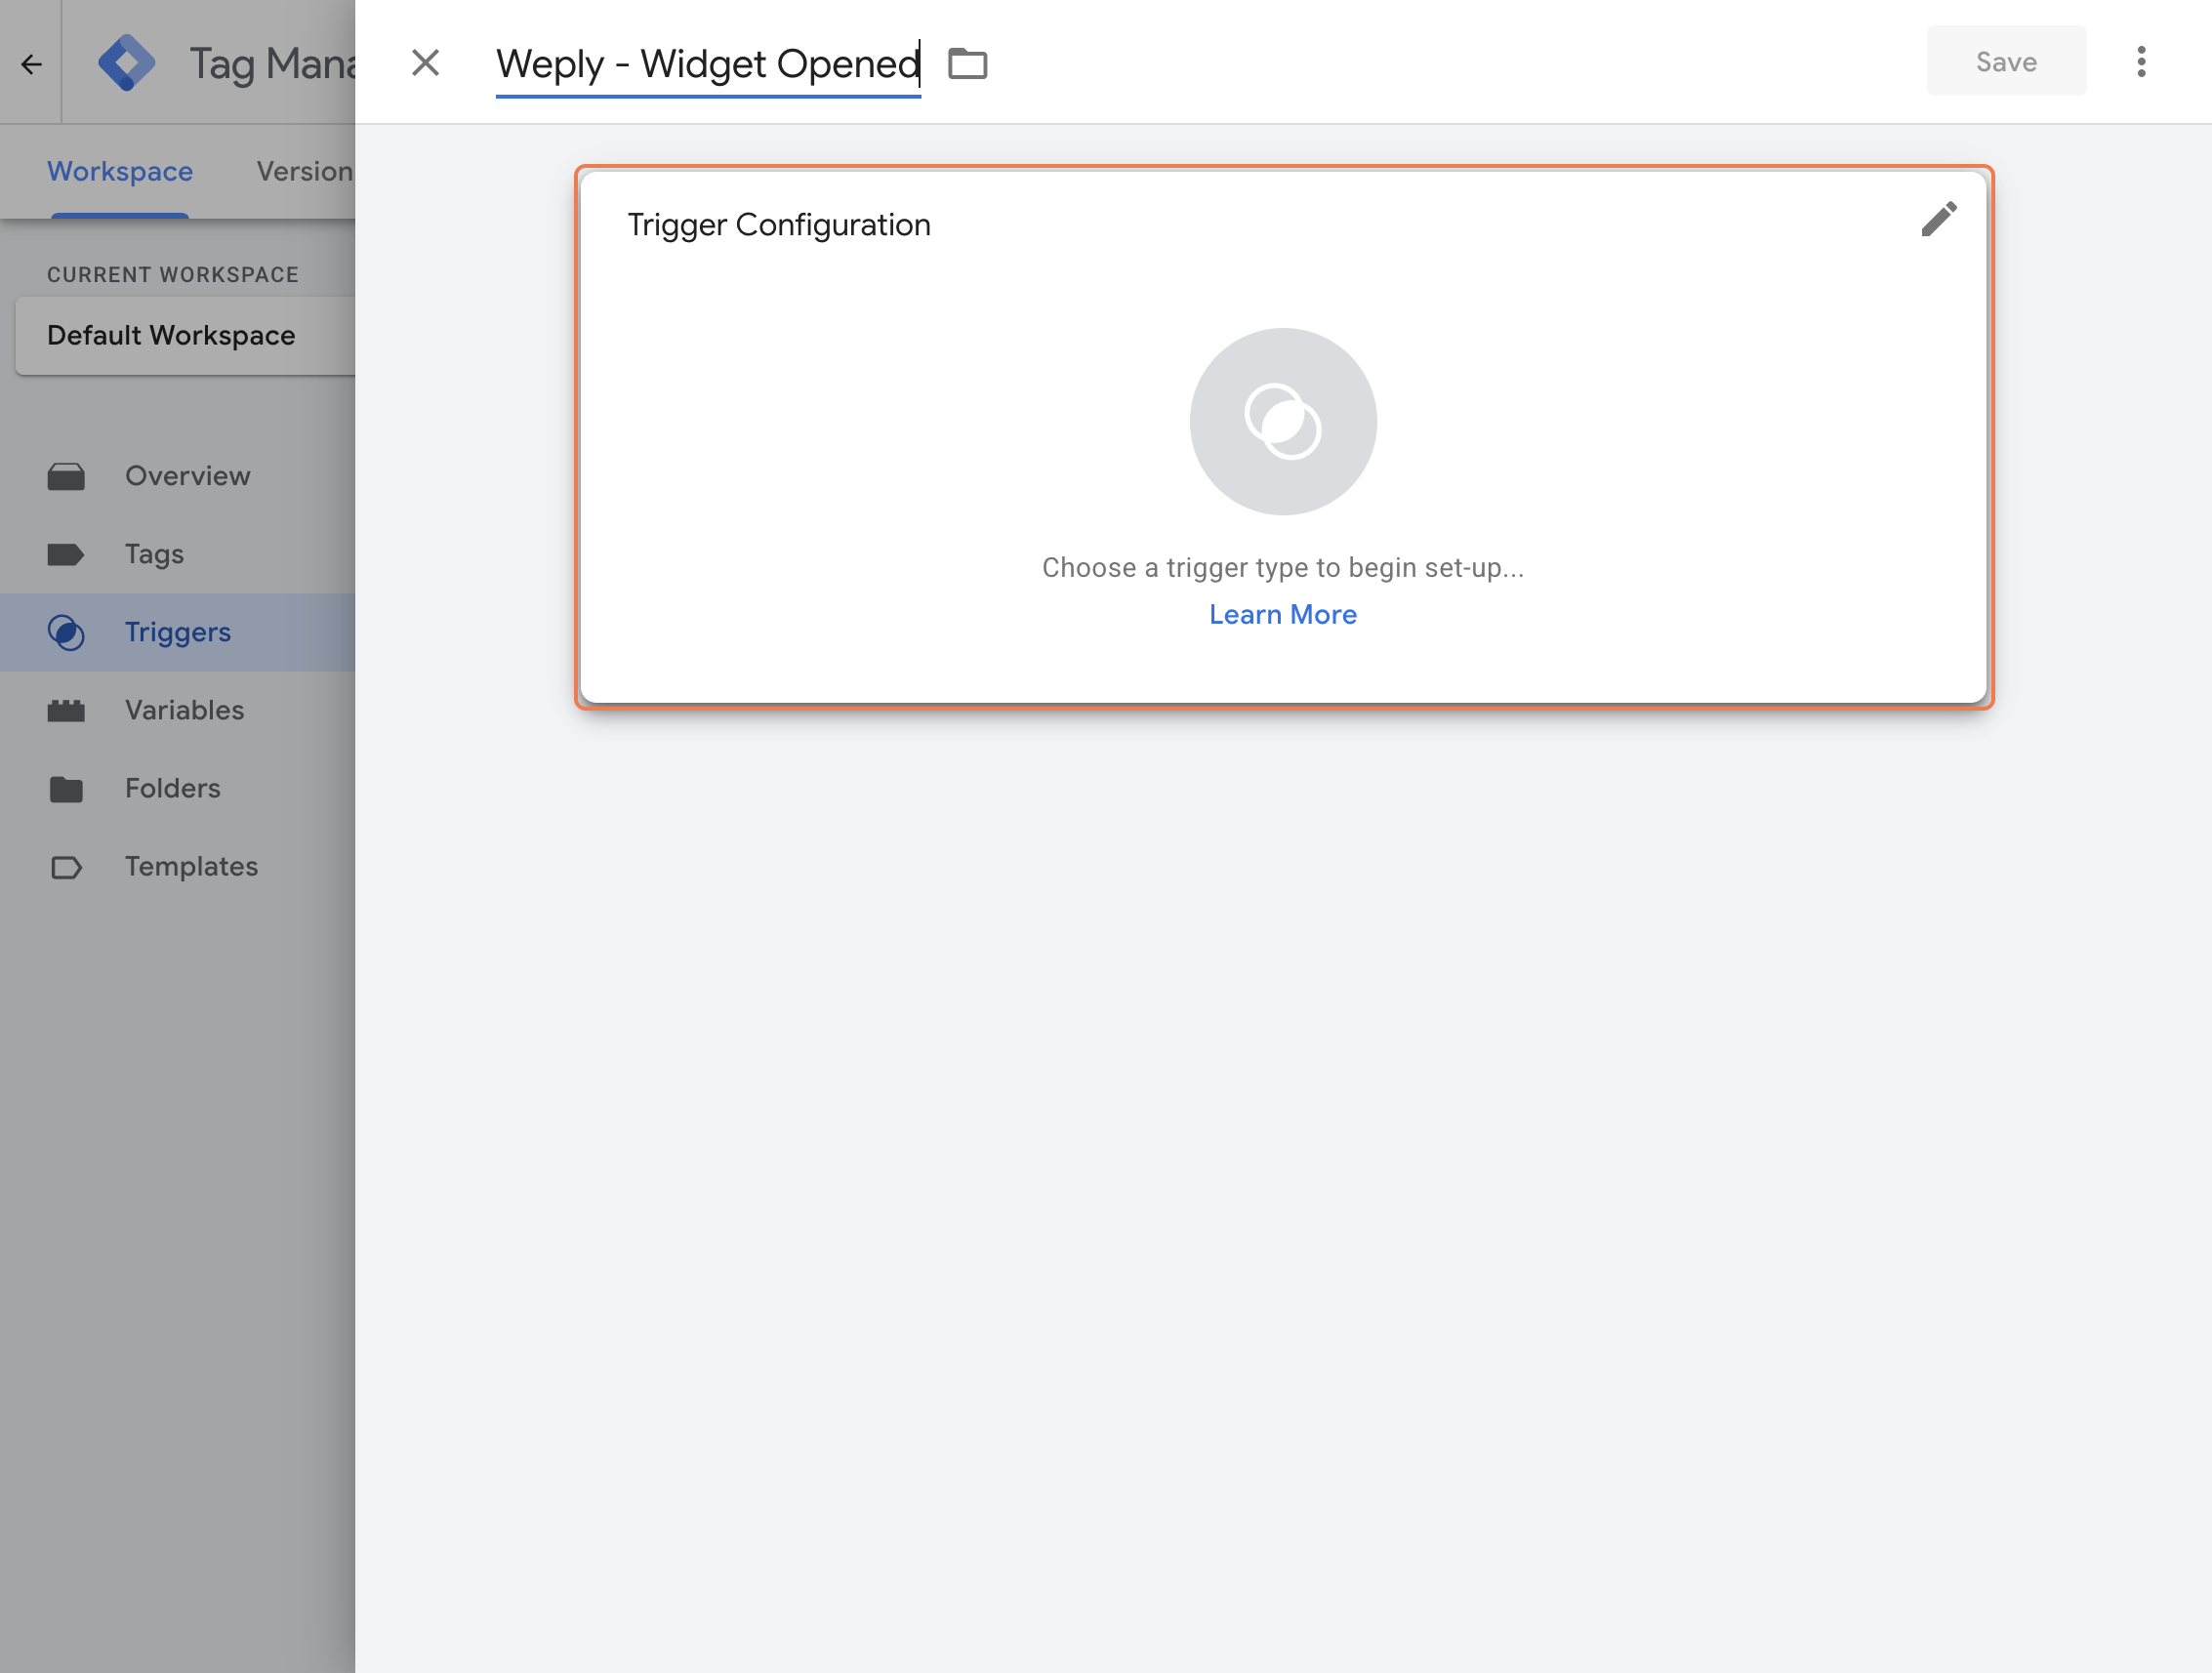
3.5 Select Custom Event

3.6 In the Event name field, enter the event name:
- weply_widgetOpen
- weply_widgetMinimize
- weply_widgetMaximize
- weply_chatStarted
- weply_chatClosed
- weply_proactiveChatBubble
- weply_proactiveChatBubbleClosed
- Click Save
Repeat this process for each event you want to track.
Quick Reference: Available Events
Step 4: Send Events to Google Analytics 4
Now that Google Tag Manager is listening for these events, let's send them to GA4 so they can be tracked.
Create a GA4 Event Tag:
4.1. Go to Tags in Google Tag Manager
4.2. Click New
4.3. Name your tag: GA4 - Weply Widget Opened (adjust name for each event)
4.4. Click Tag Configuration
4.5. Select Google Analytics: GA4 Event6. Configuration Tag: Select your existing GA4 Configuration tag (or create one if you haven't)
4.7. Event Name: Enter a descriptive name like chat_widget_opened or chat_started
4.8. Optional - Add Event Parameters (this gives you more data in GA4):
- Click Add Row under Event Parameters
- Parameter Name: session_id
- Value: {{weply_sessionId}} (you'll create this variable next)
- Add more parameters as needed
4.9. Click Triggering
4.10. Select the trigger you created in Step 3 (example: "Weply - Widget Opened")
4.11. Click Save
Repeat this process for each event you want to send to GA4.
Step 5: Create Data Layer Variables (Optional but Recommended)
To capture the additional data that comes with each event (like session ID), create variables in GTM.Create Variables:
5.1. Go to "Variables" in the left sidebar
5.2. Under "User-Defined Variables", click "New"
5.3 Name your variable: weply_sessionId
5.4. Click Variable Configuration
5.5. Select "Data Layer Variable"
5.6. Data Layer Variable Name: weply_sessionId
5.7. Click "Save"
Repeat for these additional variables:
- weply_browserTabId
- weply_timestamp
- weply_eventName
Now you can use these variables in your GA4 event tags
Step 6: Test Your Setup
Before publishing, test that everything works:
6.1. Click Preview in Google Tag Manager (top right)
6.2. Enter your website URL and click Connect
6.3. Your website will open with a GTM debug panel
6.4. Interact with the chat widget (open it, start a chat, minimize it)
6.5. Check the debug panel to see if your tags fire correctly
6.6. Look for your custom events in the left column (they'll appear as you trigger them)If everything looks good, click Submit to publish your changes.
Step 7: Verify Events in Google Analytics 4
After publishing, check that events are appearing in GA4:
7.1. Go to your GA4 property
7.2. Navigate to Reports → Realtime
7.3. Interact with your chat widget on your website
7.4. Watch the Realtime report to see your events appear (like chat_widget_opened or chat_started)It may take a few minutes for events to appear.